
Fine-Tuned Qwen-Image-Edit vs Nano-Banana and FLUX Kontext Dev

Welcome back to Fine-Tuning Friday, where each week we try to put some models to the test and see if fine-tuning an open-source model can outperform whatever state of the art (SOTA) is at the time. This week, we will dive into three different models: Qwen-Image-Edit, Gemini Flash 2.5 (Nano-Banana), and FLUX Kontext-Dev and compare how a fine-tuned Qwen-Image-Edit does against prompting the other two models. Let's dive in!
Here's the live recording if you want to follow along:
Want to try fine-tuning? Oxen.ai makes it simple. All you have to do upload your images, click run, and we handle the rest. Sign up and follow along by training your own model.
The Task: Fine-Tuning on Yeti Mugs
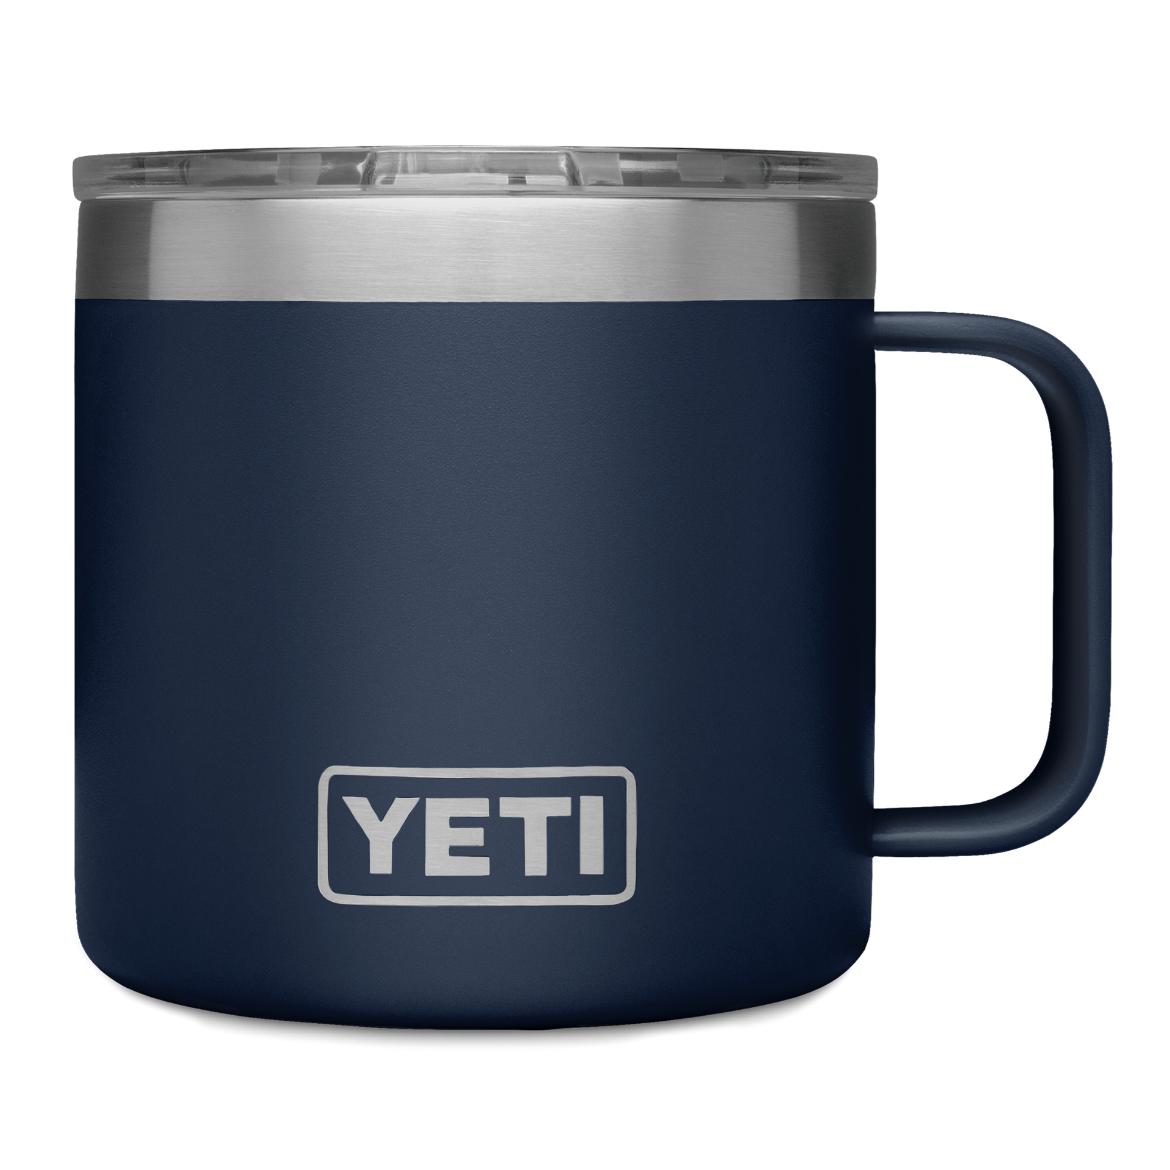
I love the Yeti brand. Not only do they have really high-quality products, but their branding is distinct and recognizable. So we wanted to see if we could fine-tune Qwen-Image-Edit to generate production-ready, product catalog-level quality Yeti mugs. Yeti mugs are the perfect experiment since they have a very specific look to them with their textured finish, chrome top, logo, and coloring. It's difficult for base models to replicate them exactly.
The Models
While specifically FLUX-Kontext-Dev and Qwen-Image-Edit are for image editing, all three models can take a reference image and a prompt to then change a specific part of the image while keeping the control image the same:
Where they differ is in their licenses, cost, and quality.
Nano-Banana
Officially Gemini Flash Image 2.5, Nano-Banana got its fun nickname when Google released a demo model under the name which reached the top of the image editing category on the LM Arena leaderboard. Its results are extremely impressive, which led the Gemini app to gain 23 million new users in two weeks. X had some pretty crazy examples when it dropped:
love these "what does the red arrow see" google maps transforms with nano-banana pic.twitter.com/8c00Hcr2sM
— Simon (@tokumin) August 27, 2025
The biggest drawback of Nano-Banana? Despite its impressive quality and reasoning abilities, it’s a closed model. That means you can’t customize it, keep your data private, or optimize it for your needs.
FLUX-Kontext-Dev
FLUX open-source models have consistently been among the most fine-tuned models on HuggingFace. Their popularity comes from a combination of excellent quality, active development, and strong community support. Black Forest Labs (BFL), the team behind FLUX, continually drives collaborations and model improvements after releases. Plus, the models are free for non-commercial use, making them especially appealing to independent developers and researchers.
FLUX-Kontext-Dev generates super impressive results and has been one of the SOTA models for a couple months now.
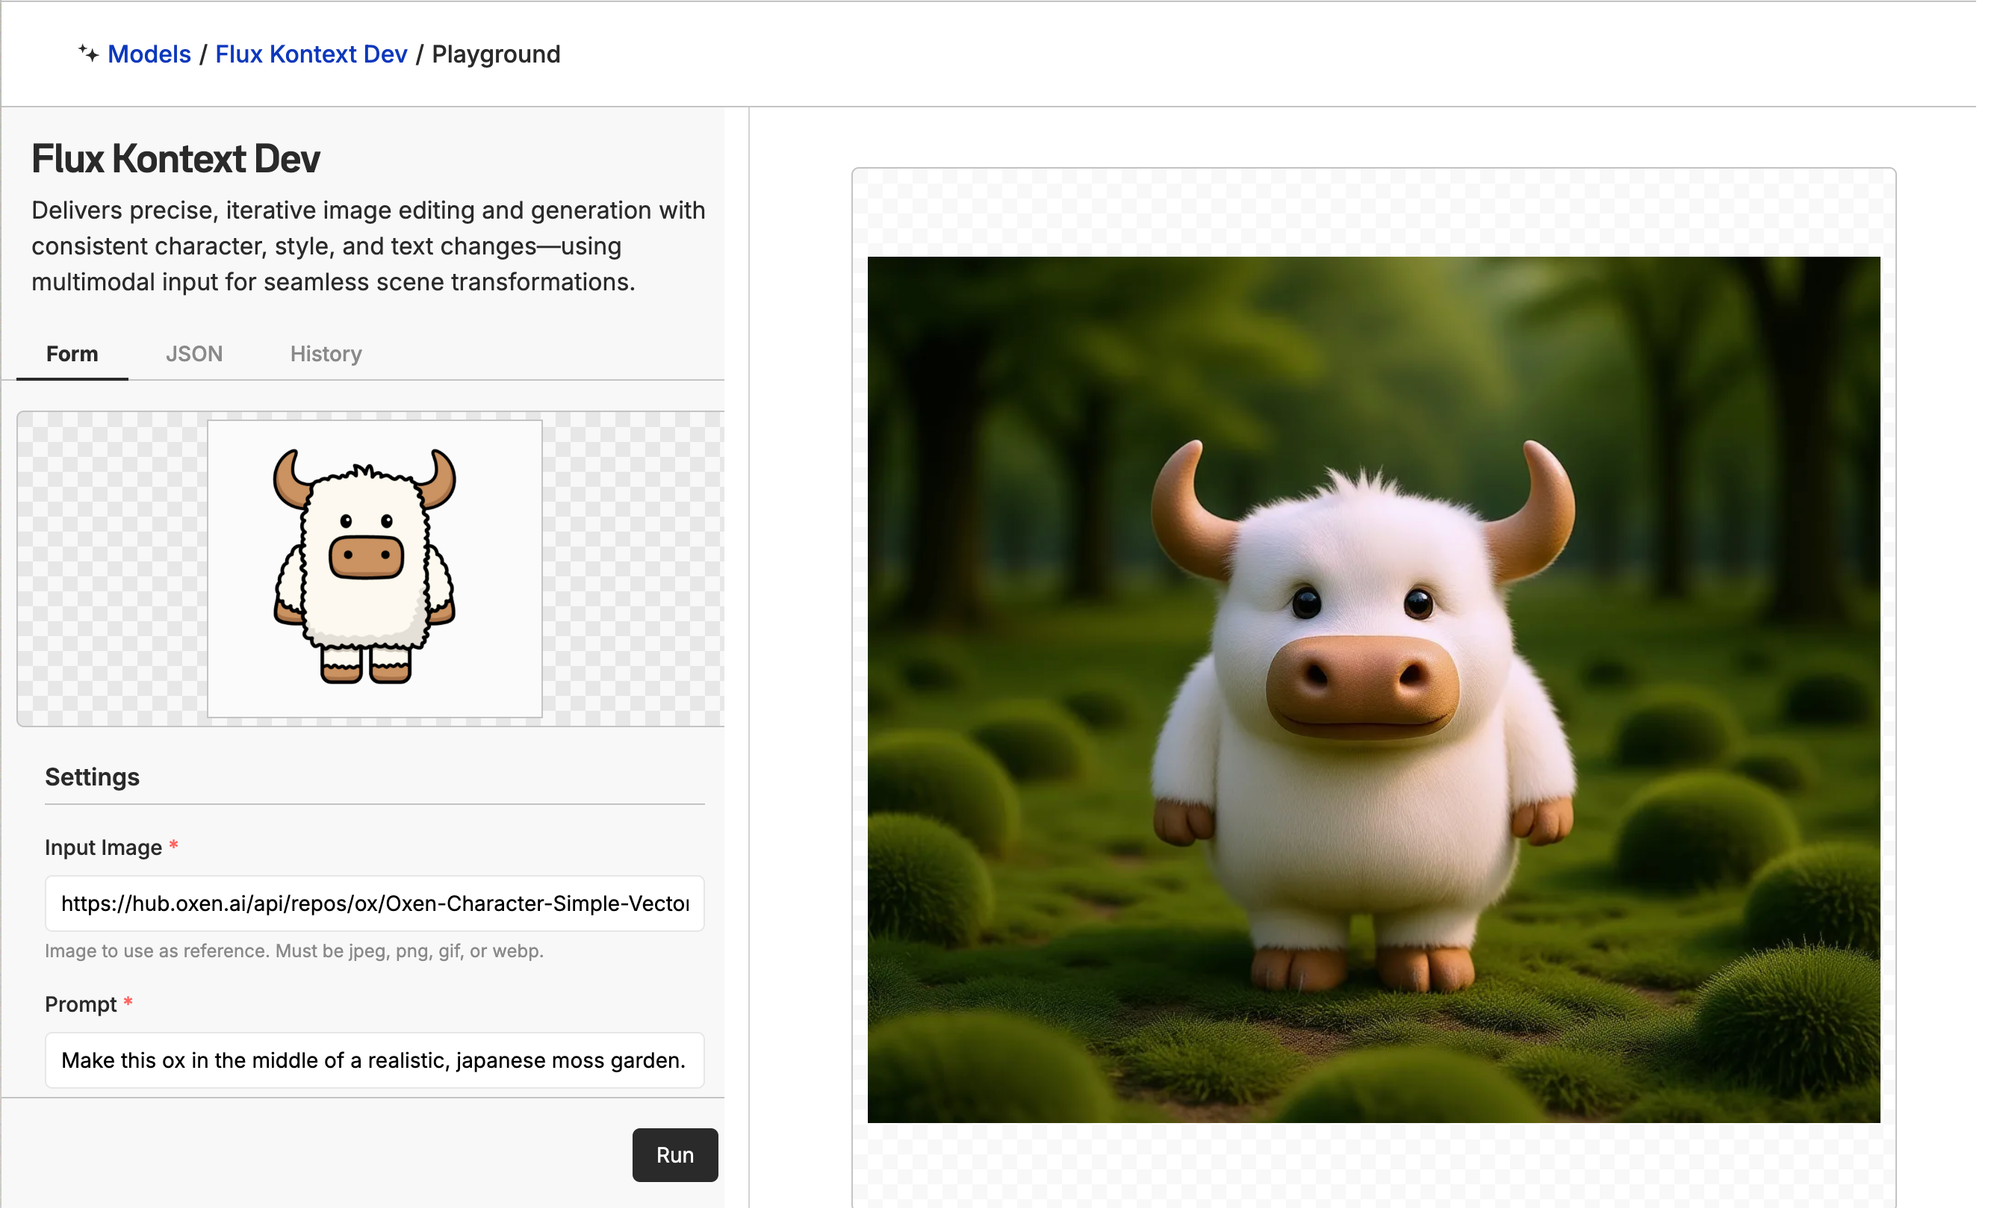
While this generation is impressive, it struggles to keep Bloxy in a consistent style, even when explicitly prompted to do so.
"Make this ox in the middle of a realistic, Japanese moss garden but keep the ox in the same style"
While FLUX-Kontext-Dev’s quality might be slightly lower than Nano-Banana’s out of the box, it’s an open model that can be fine-tuned (we've fine-tuned other FLUX models in past blogs). The catch? BFL charges $999 per month for commercial use.
Qwen-Image-Edit
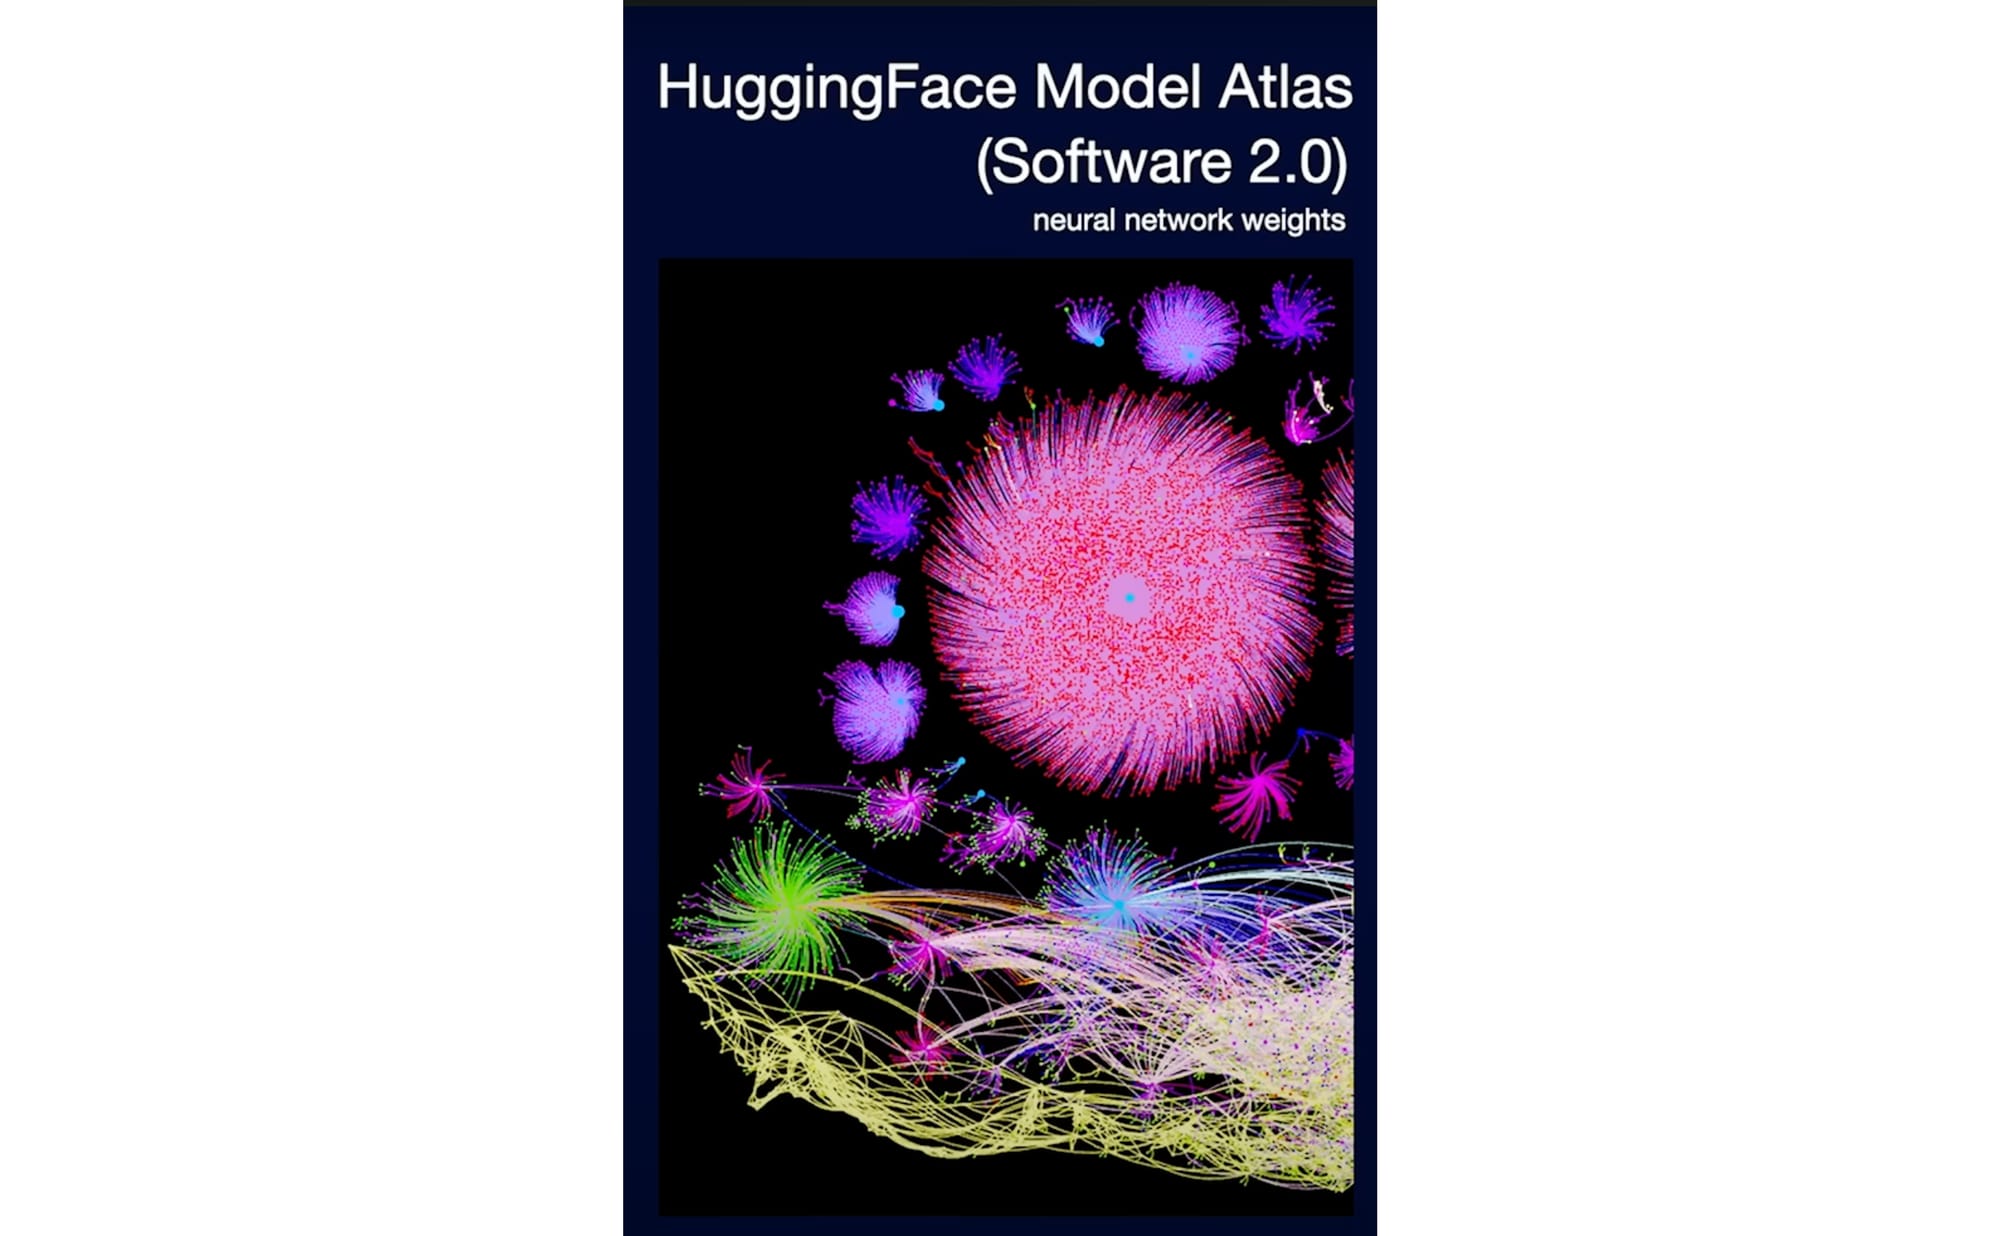
Chinese open models have been dominating the scene. Some reports even suggest that up to 80% of all SF startups rely primarily on them.
Someone at a16z claimed a few weeks ago that 80% of Bay Area startups are building on Chinese open source models. The graphic below shows Chinese model downloads exceeding US models on HuggingFace. pic.twitter.com/wRoGY1dr9V
— Omer Cheema (@OmerCheeema) September 14, 2025
This is largely because these models are not only high-performing, but also typically released under the Apache 2.0 license, which allows anyone to use, modify, and distribute them freely. From Qwen models to ByteDance’s (the company behind TikTok) recently released Seedream-4, they’ve consistently been state-of-the-art—and, most importantly, free for everyone.

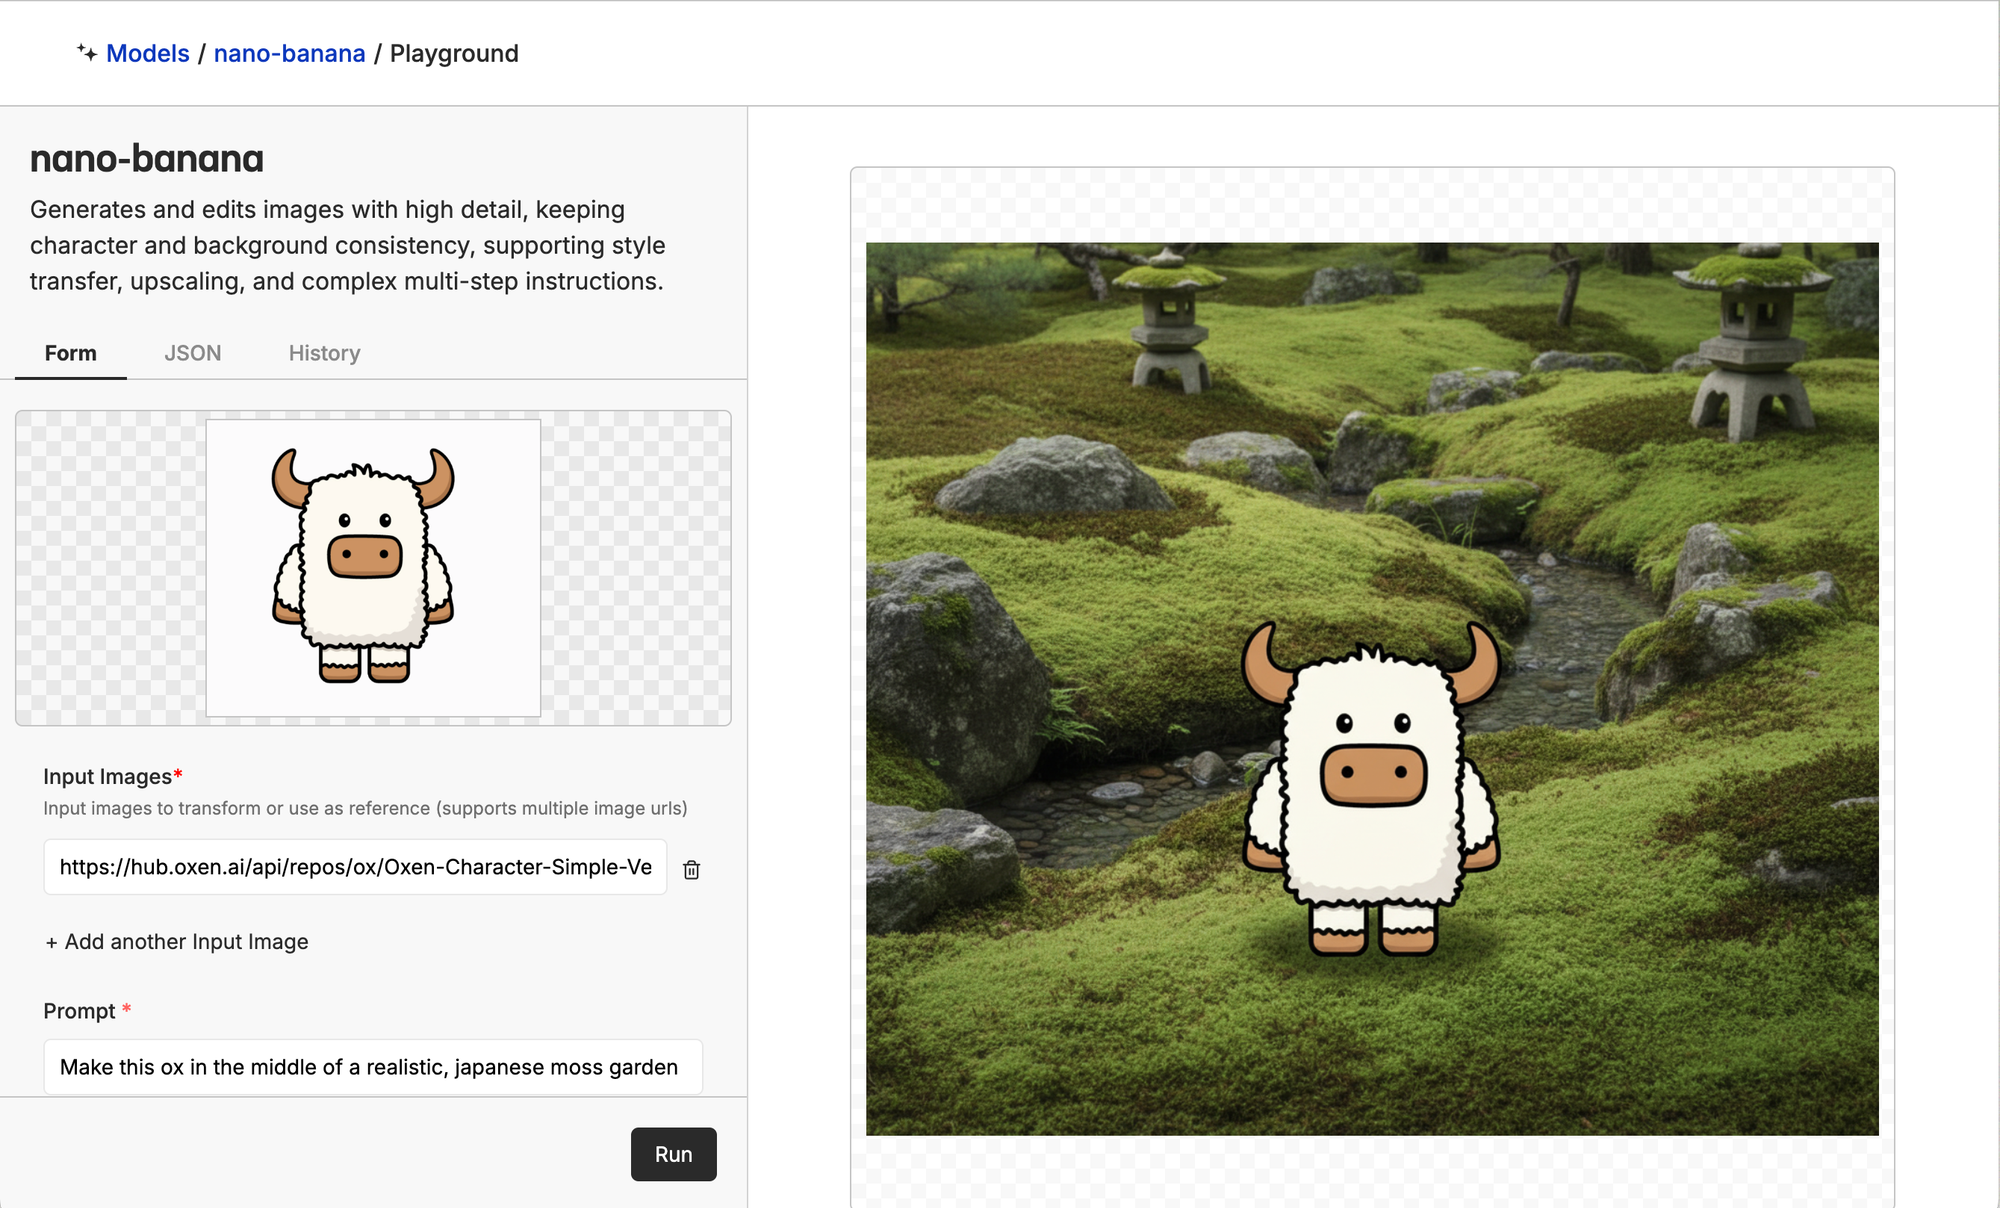
This generation is not the best of the three, with the garden looking like AI slop and Bloxy with a yellowish hue. But since the model weights are free, we're going to fine-tune it to see if we can get the best results of the three models.
Testing The Models on Yeti Mugs
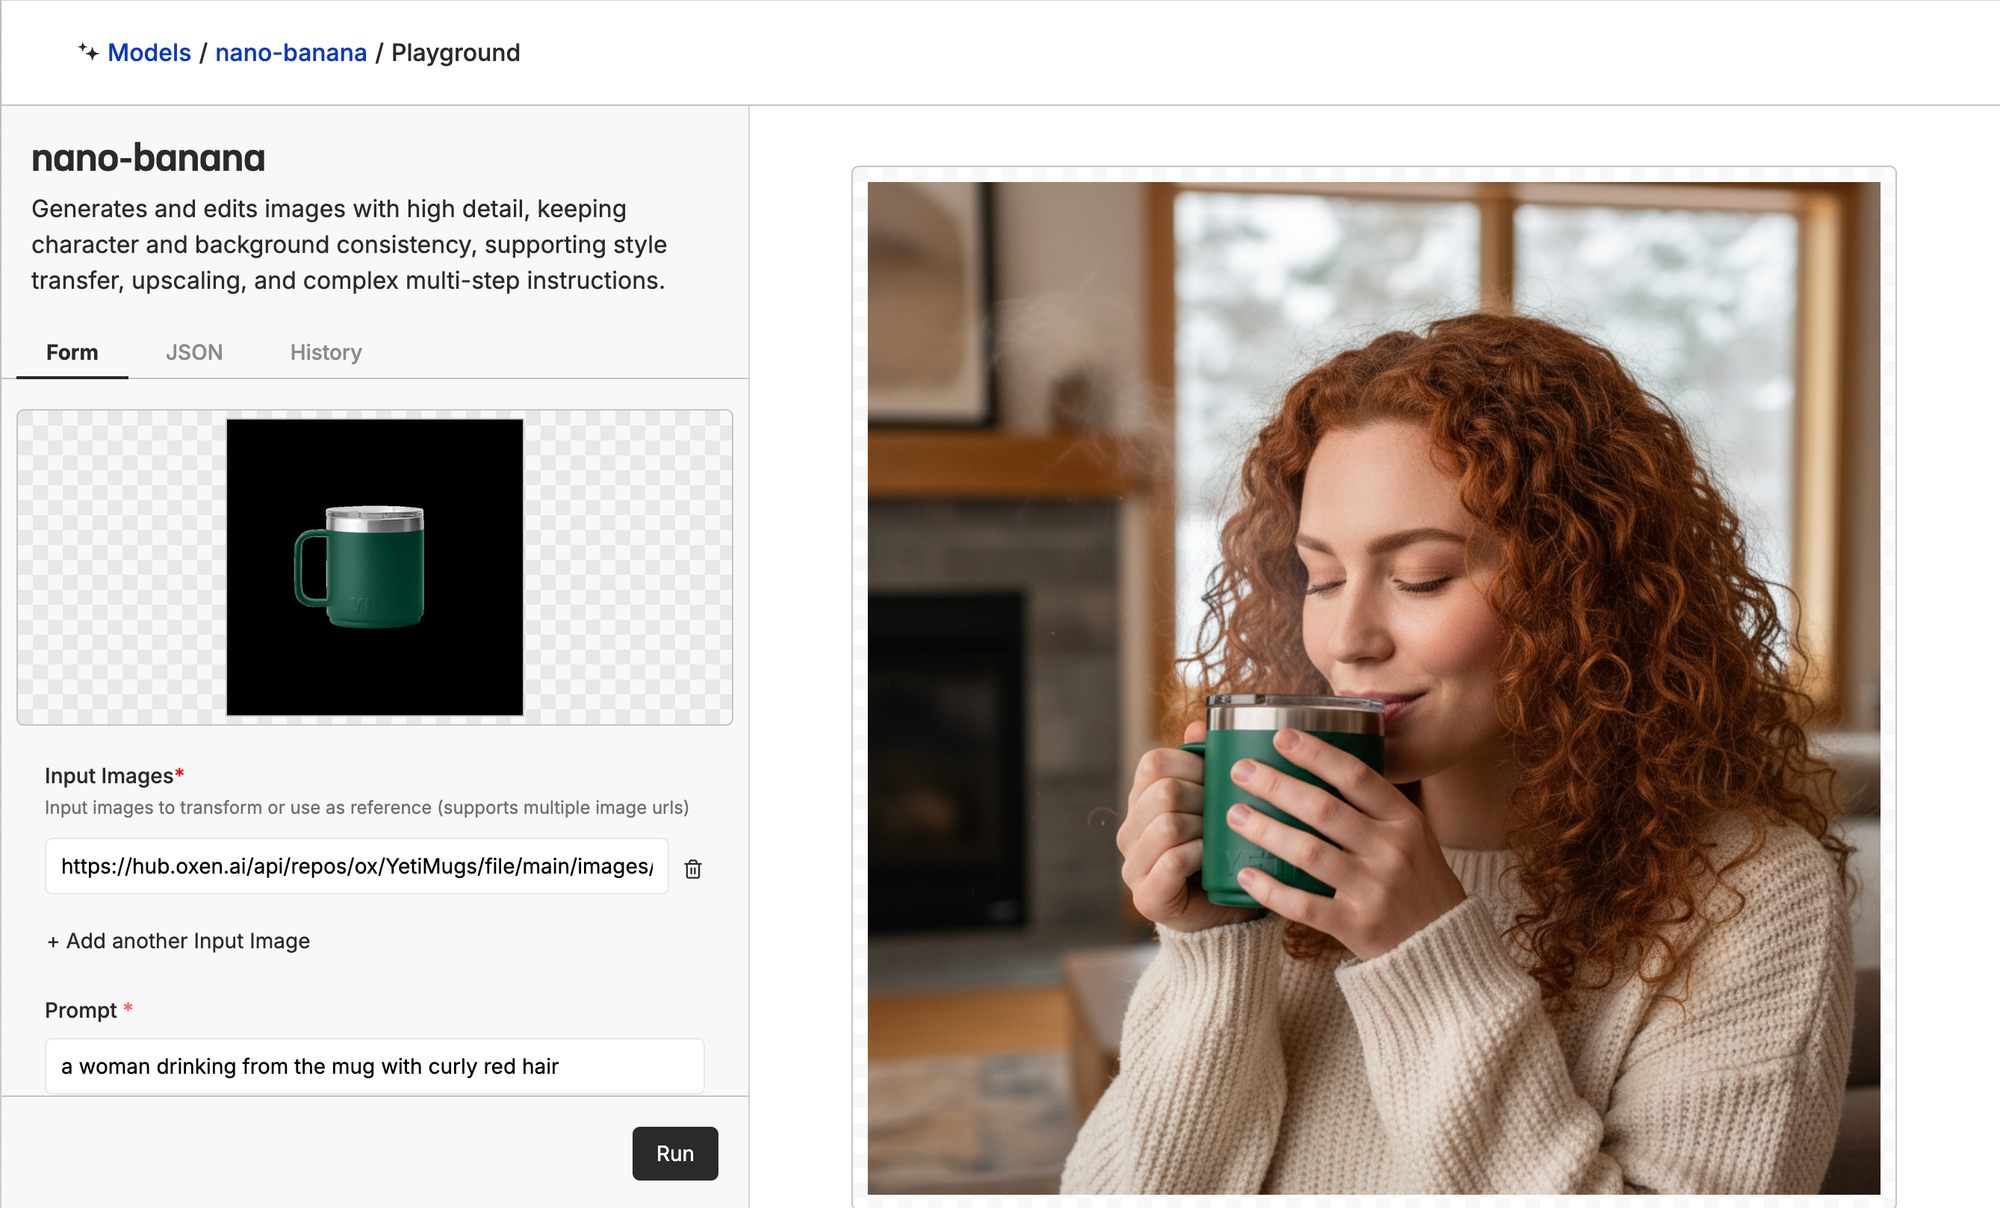
So to test the different models, we went to Oxen.ai's model page:
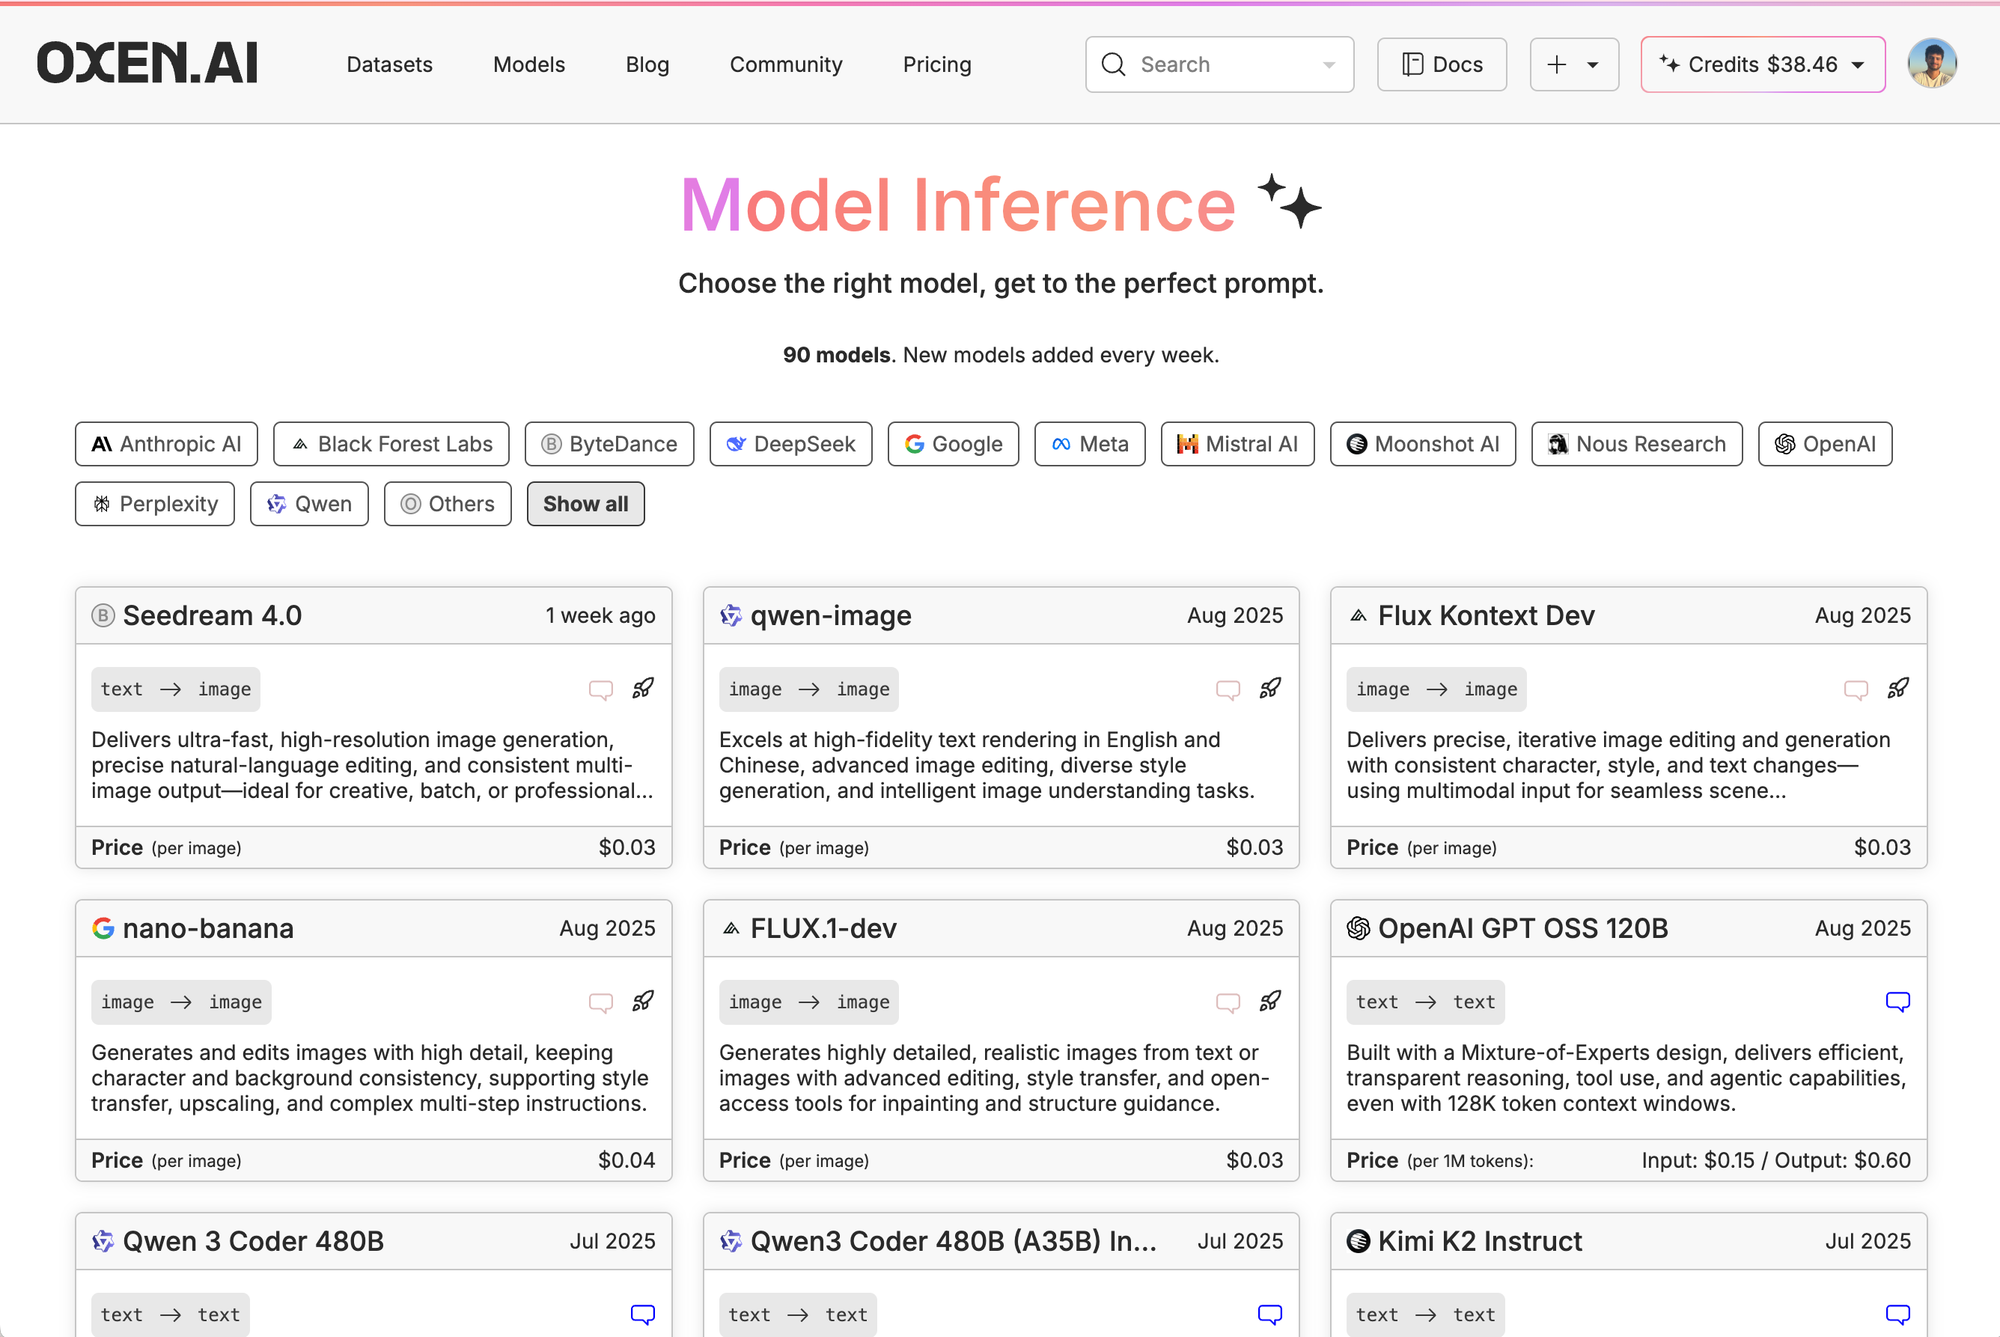
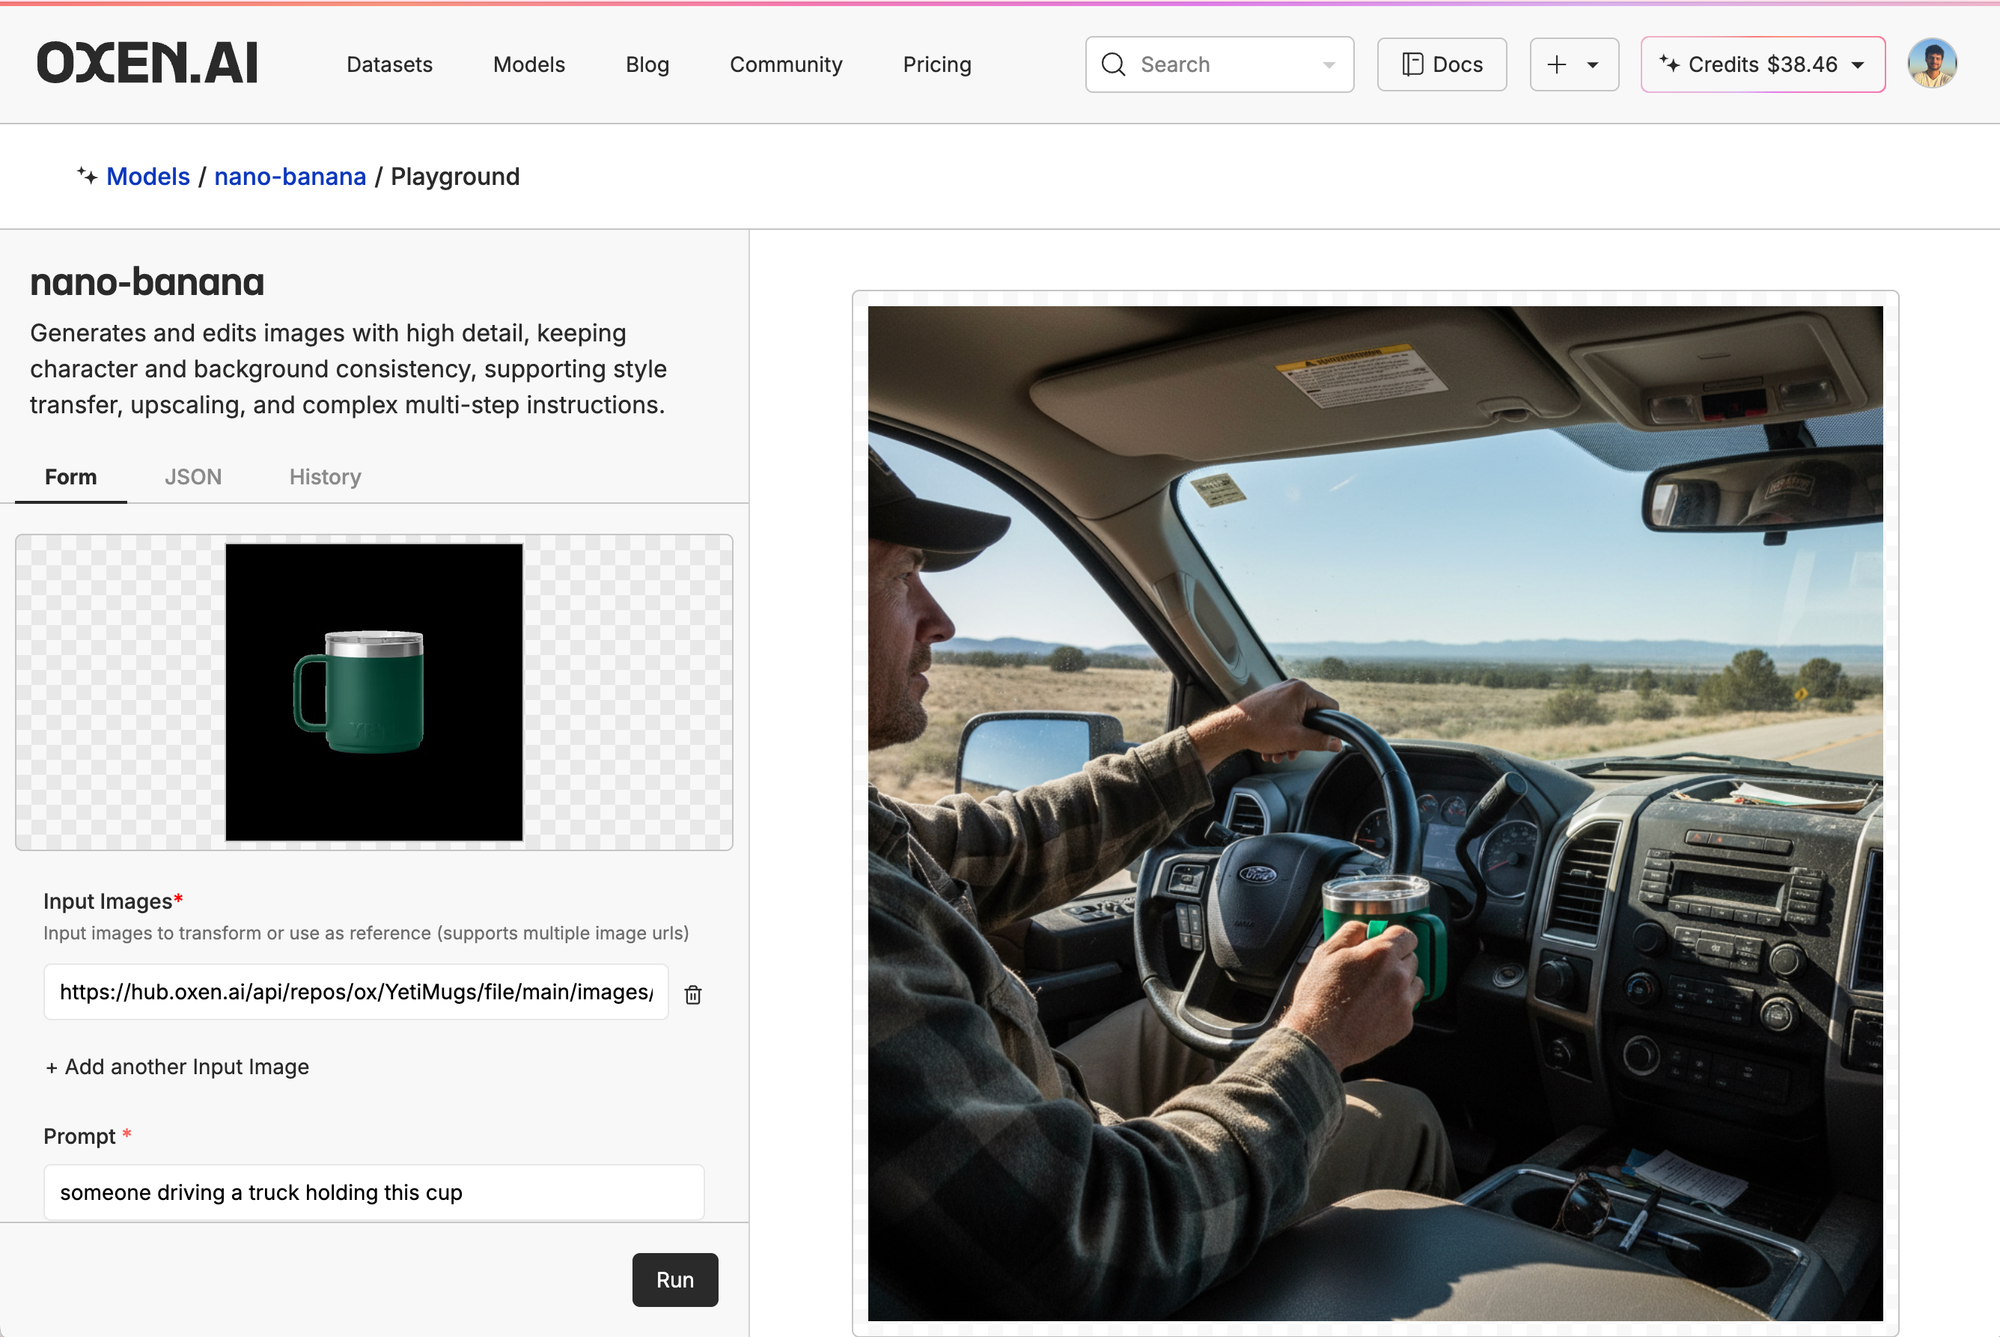
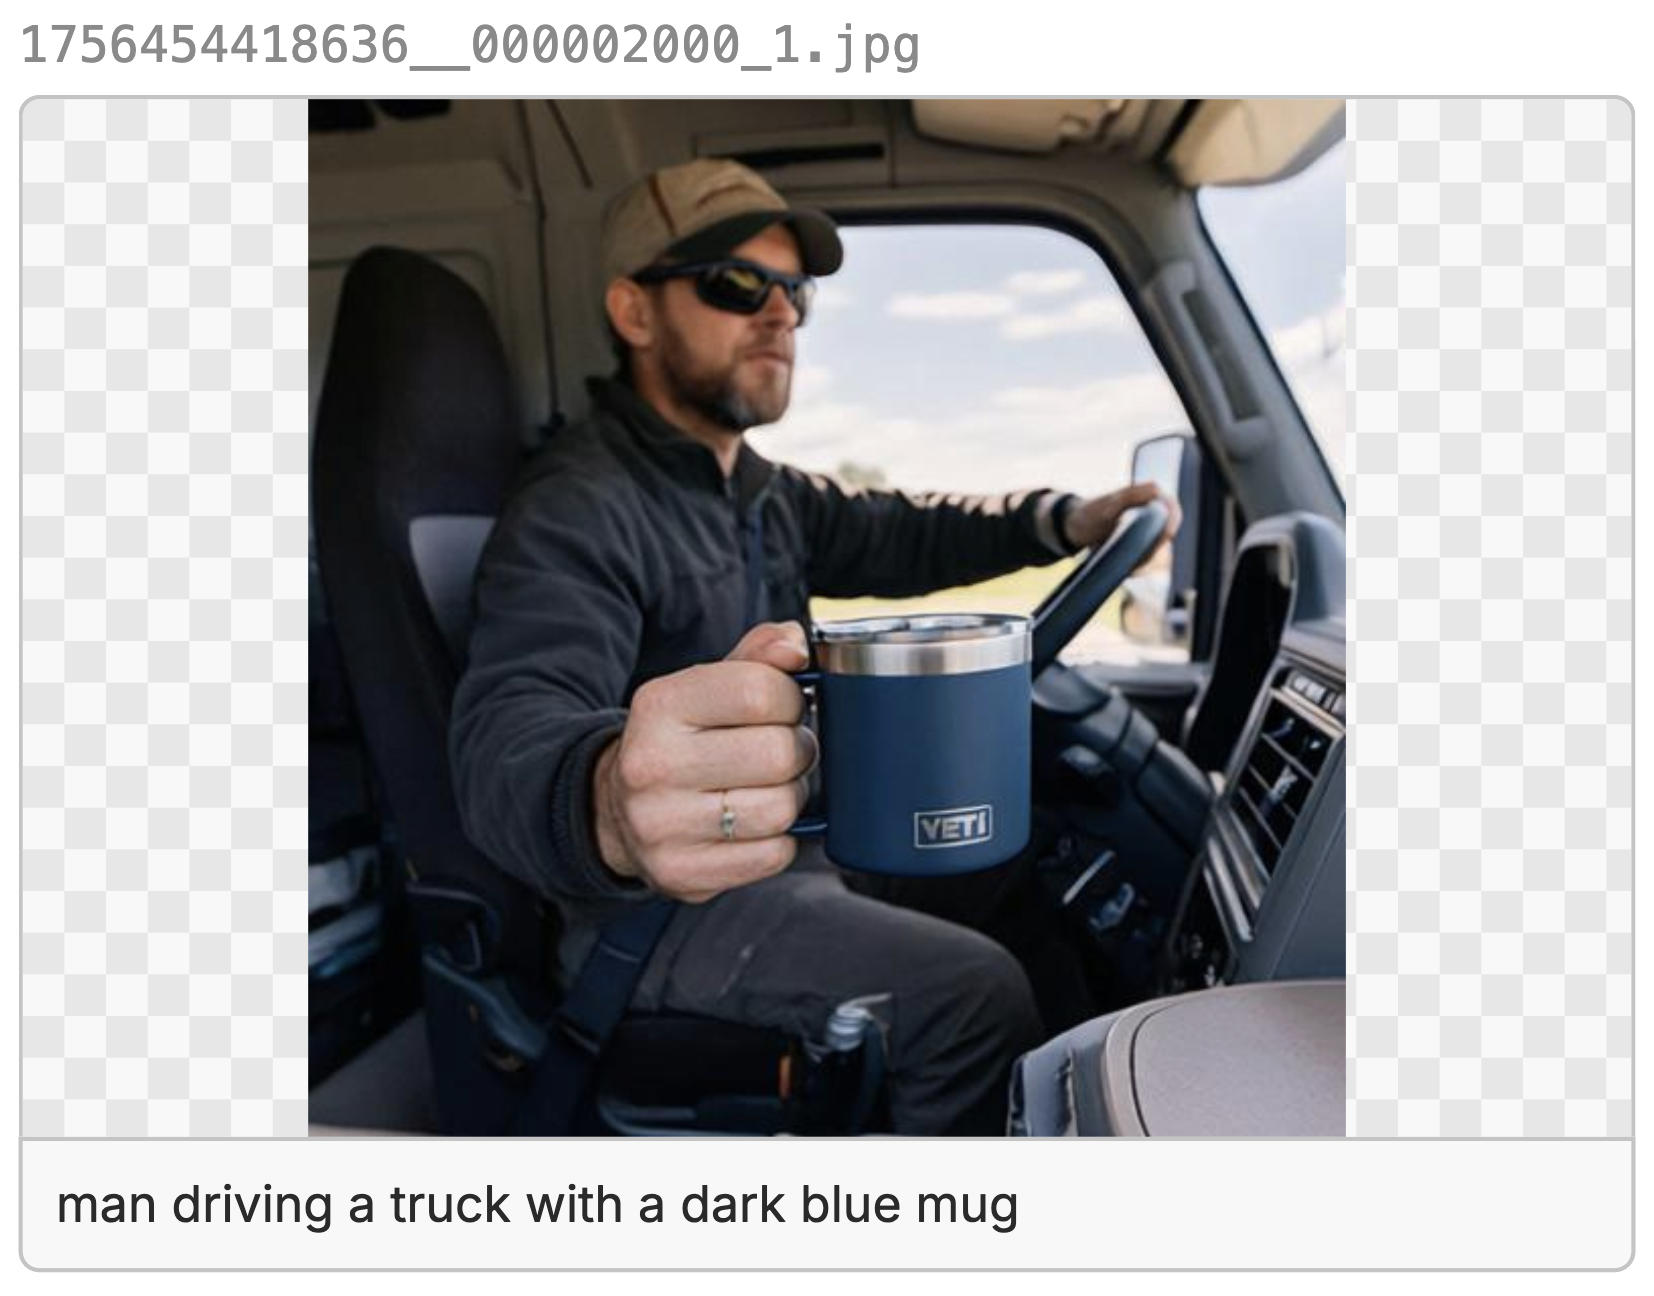
Then, we clicked the little ship in the top right of the model card, put in our control image, and prompt. Here, we're just asking it to generate a picture of someone driving a cup holding the mug.

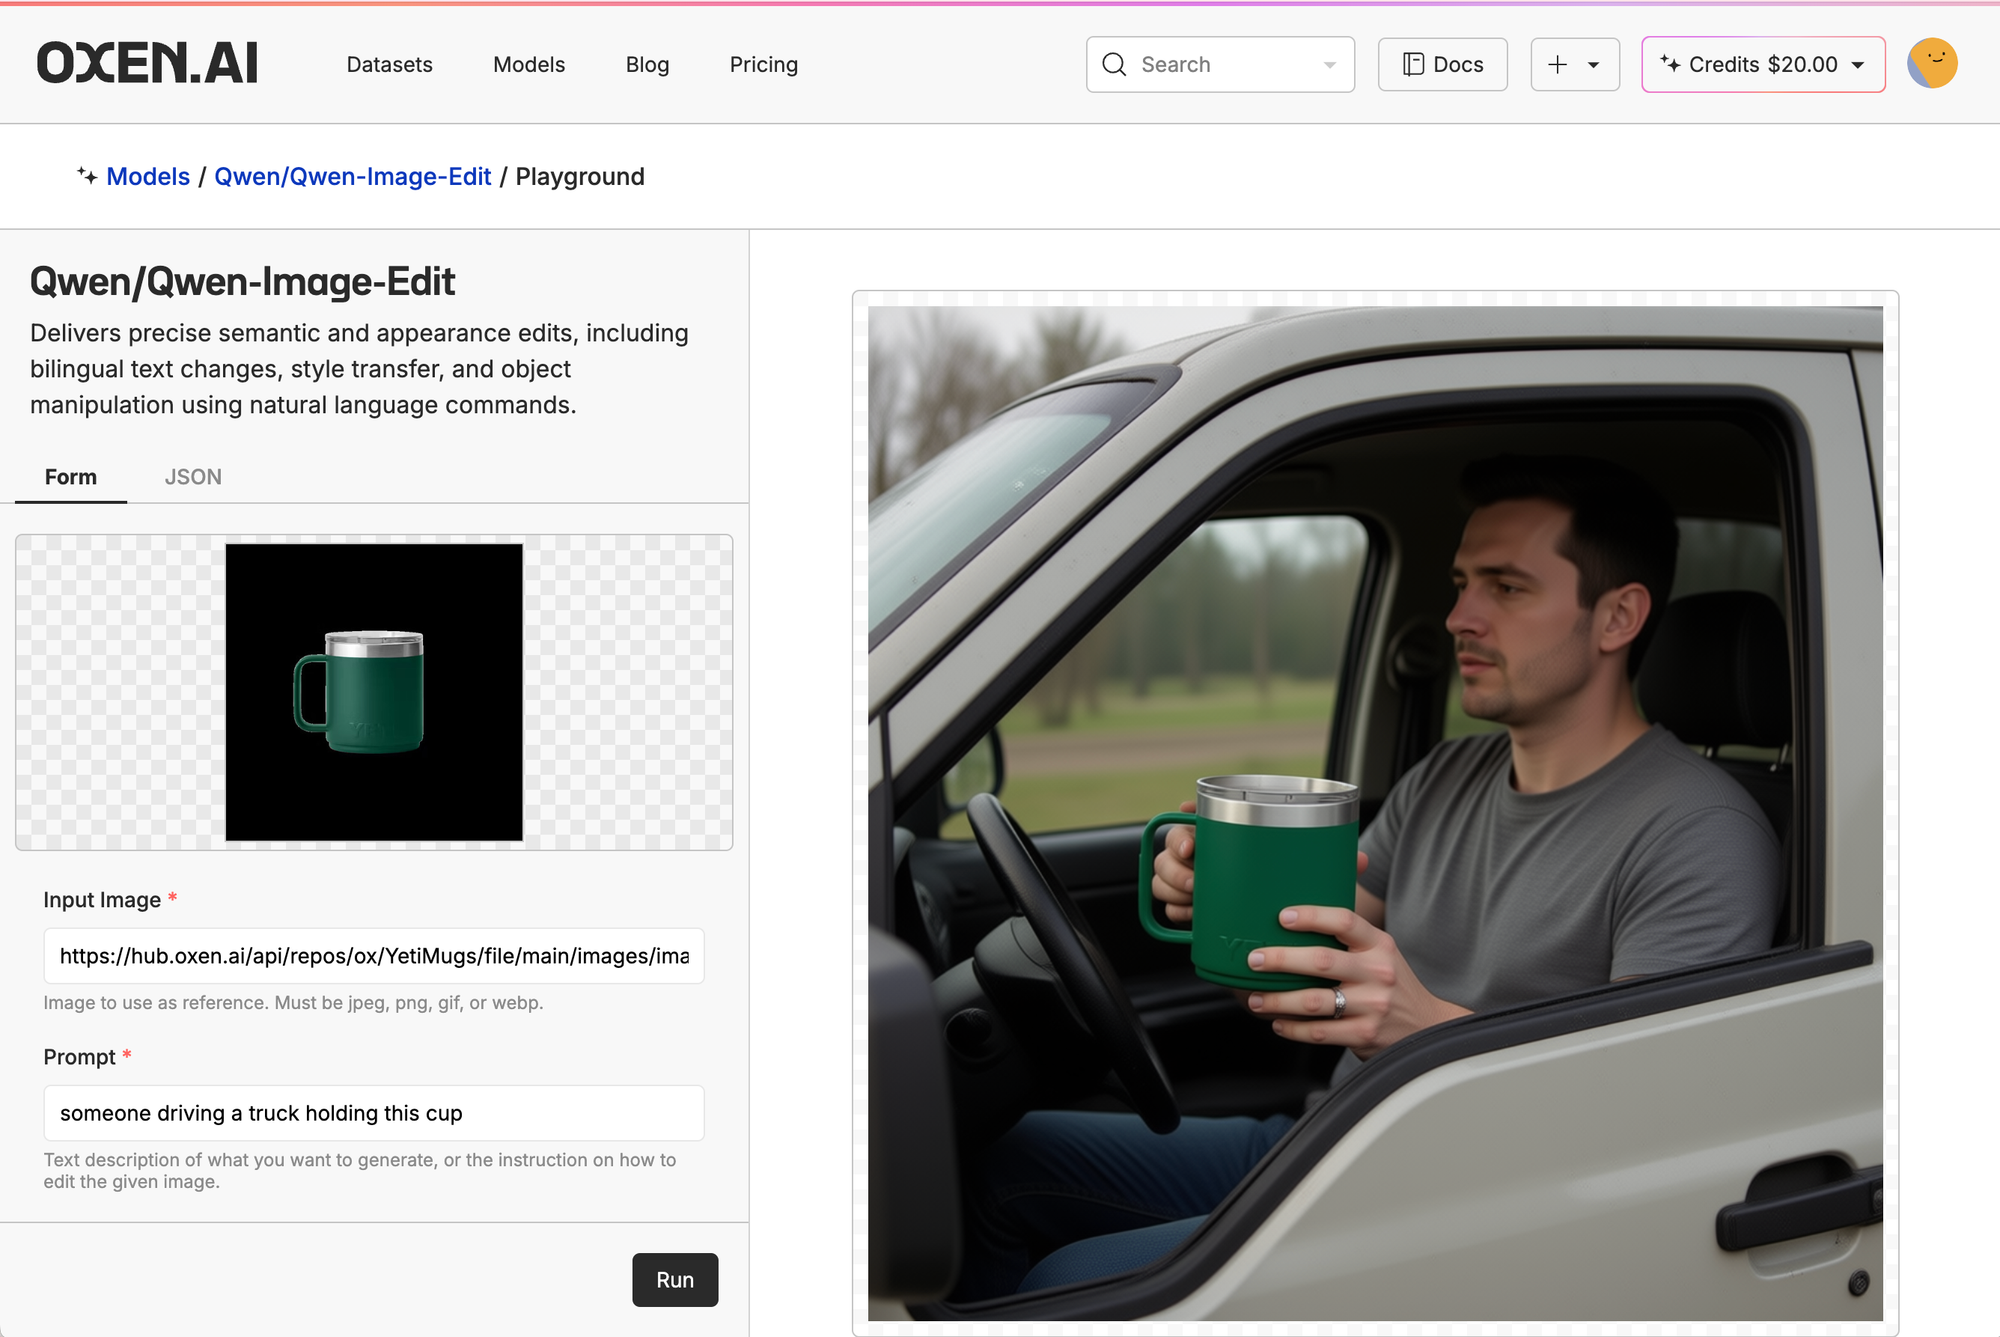
Off the bat, we can tell the people in the FLUX and Qwen gens look very AI-generated, even though they didn't do a horrible job with the yeti mug itself. They are just off on little details, like for FLUX, the Yeti logo is backwards, for Qwen the mug looks great, but is blocked by the driver's hands. Mainly, the people look like AI slop and not production ready at all.
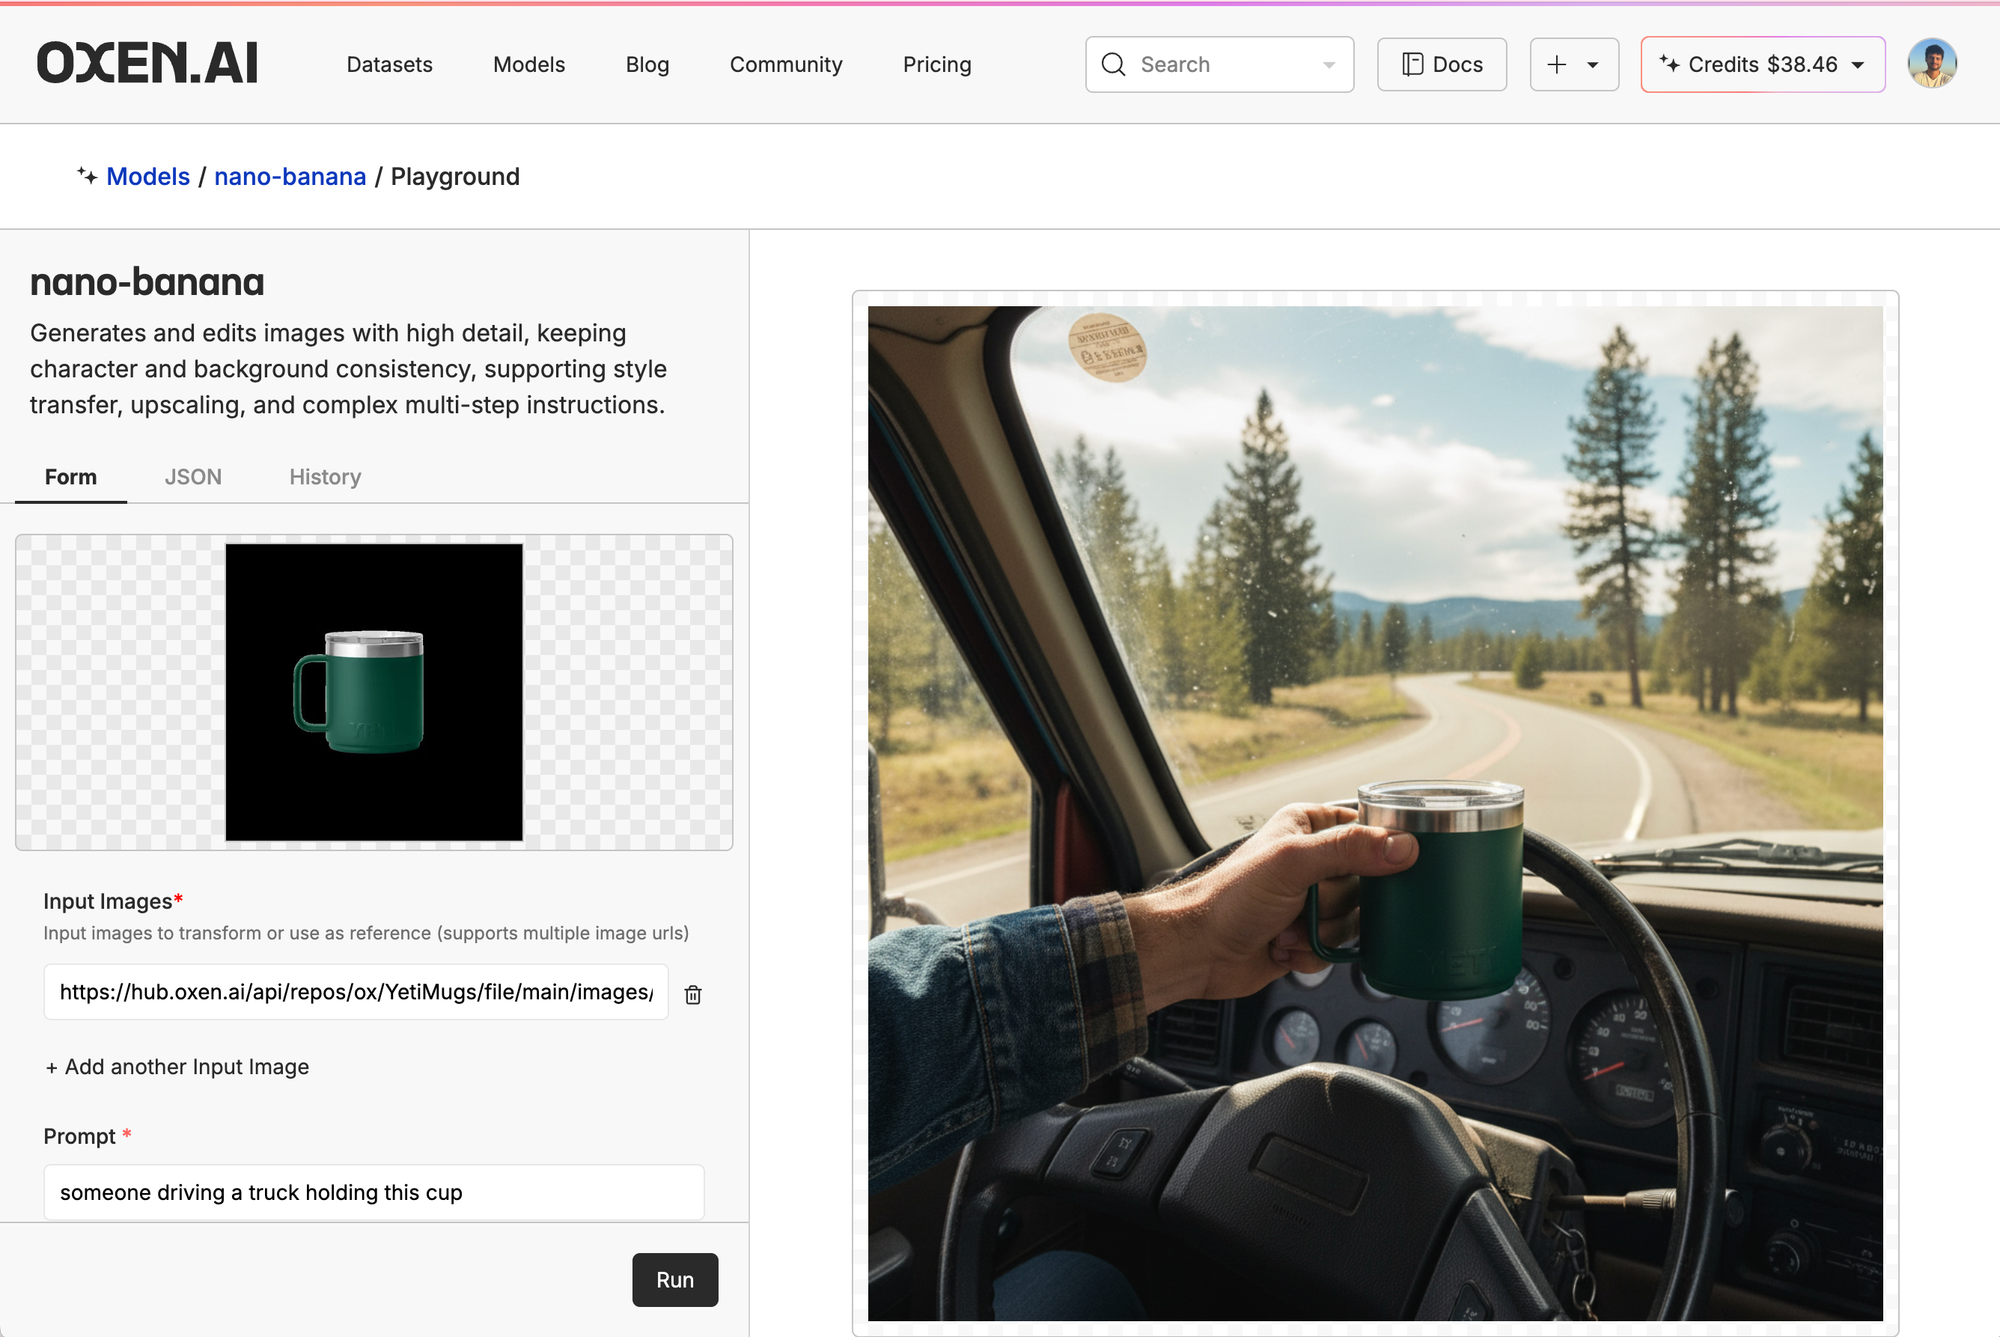
The Nano-Banana gen, on the other hand, looks much more realistic but the mug itself is ok. In general, the Nano-Banana model was the most realistic look, even if not super consistent and the mug being at weird, distant angles.
So before going any further, let's quickly recap when it's best to just keep prompting/context engineering vs. fine-tune.
When to Fine-Tune vs. Prompting
What is the difference between prompting (i.e., context engineering) and fine-tuning? Sometimes I hear people say “I trained my image gen model” when really they just mean they gave it an example image. To put it simply, fine-tuning is burning the concept (e.g., characters, color palettes, products) into the model weights, while context engineering is just giving the model an example to build off of.
Fine-tuning can convey much more information than pure prompting. Even if you have a large, detailed prompt, you will still get very different results each generation. Imagine you need character consistency for a whole shot. That’s better to be encoded down at the model level than at the prompt level...especially if the base model does not know who your character is. It's to be determined if we’ll be in a similar world to LLMs, where you can just give a bunch of examples of the images you want, but I still think fine-tuning will win out.
Prompting is perfect for when you don't have something specific in mind, want boundaries around the generation but don't need exact reproducibility, are finding new ideas, and are testing if a model is high-quality enough for your project.
In my opinion, it's best to start with prompting to see if you get good starting results and a clear idea of which model seems to work best. From there, fine-tuning can get you from 7/10-10/10 real quick once you have a clear idea of what you need. Which is important if you are working at a production studio, Hollywood, or a marketing agency. People these days have an eye for AI Slop. Fine-Tuning is like an AI Slop Mop.
So, now that we know we want to fine-tune Qwen-Image-Edit, let's dive into how.
Fine-Tuning Qwen-Image-Edit
As we saw earlier, when it came to training on proprietary products, color grading, and complex prompts, the base models' outcome starts to look a bit like AI slop. So if we want to get clear, perfect branded Yeti mugs in realistic settings, we'd want to fine-tune a model specifically for the product. So first, of course, is the data.
The Yeti Mug Training Data
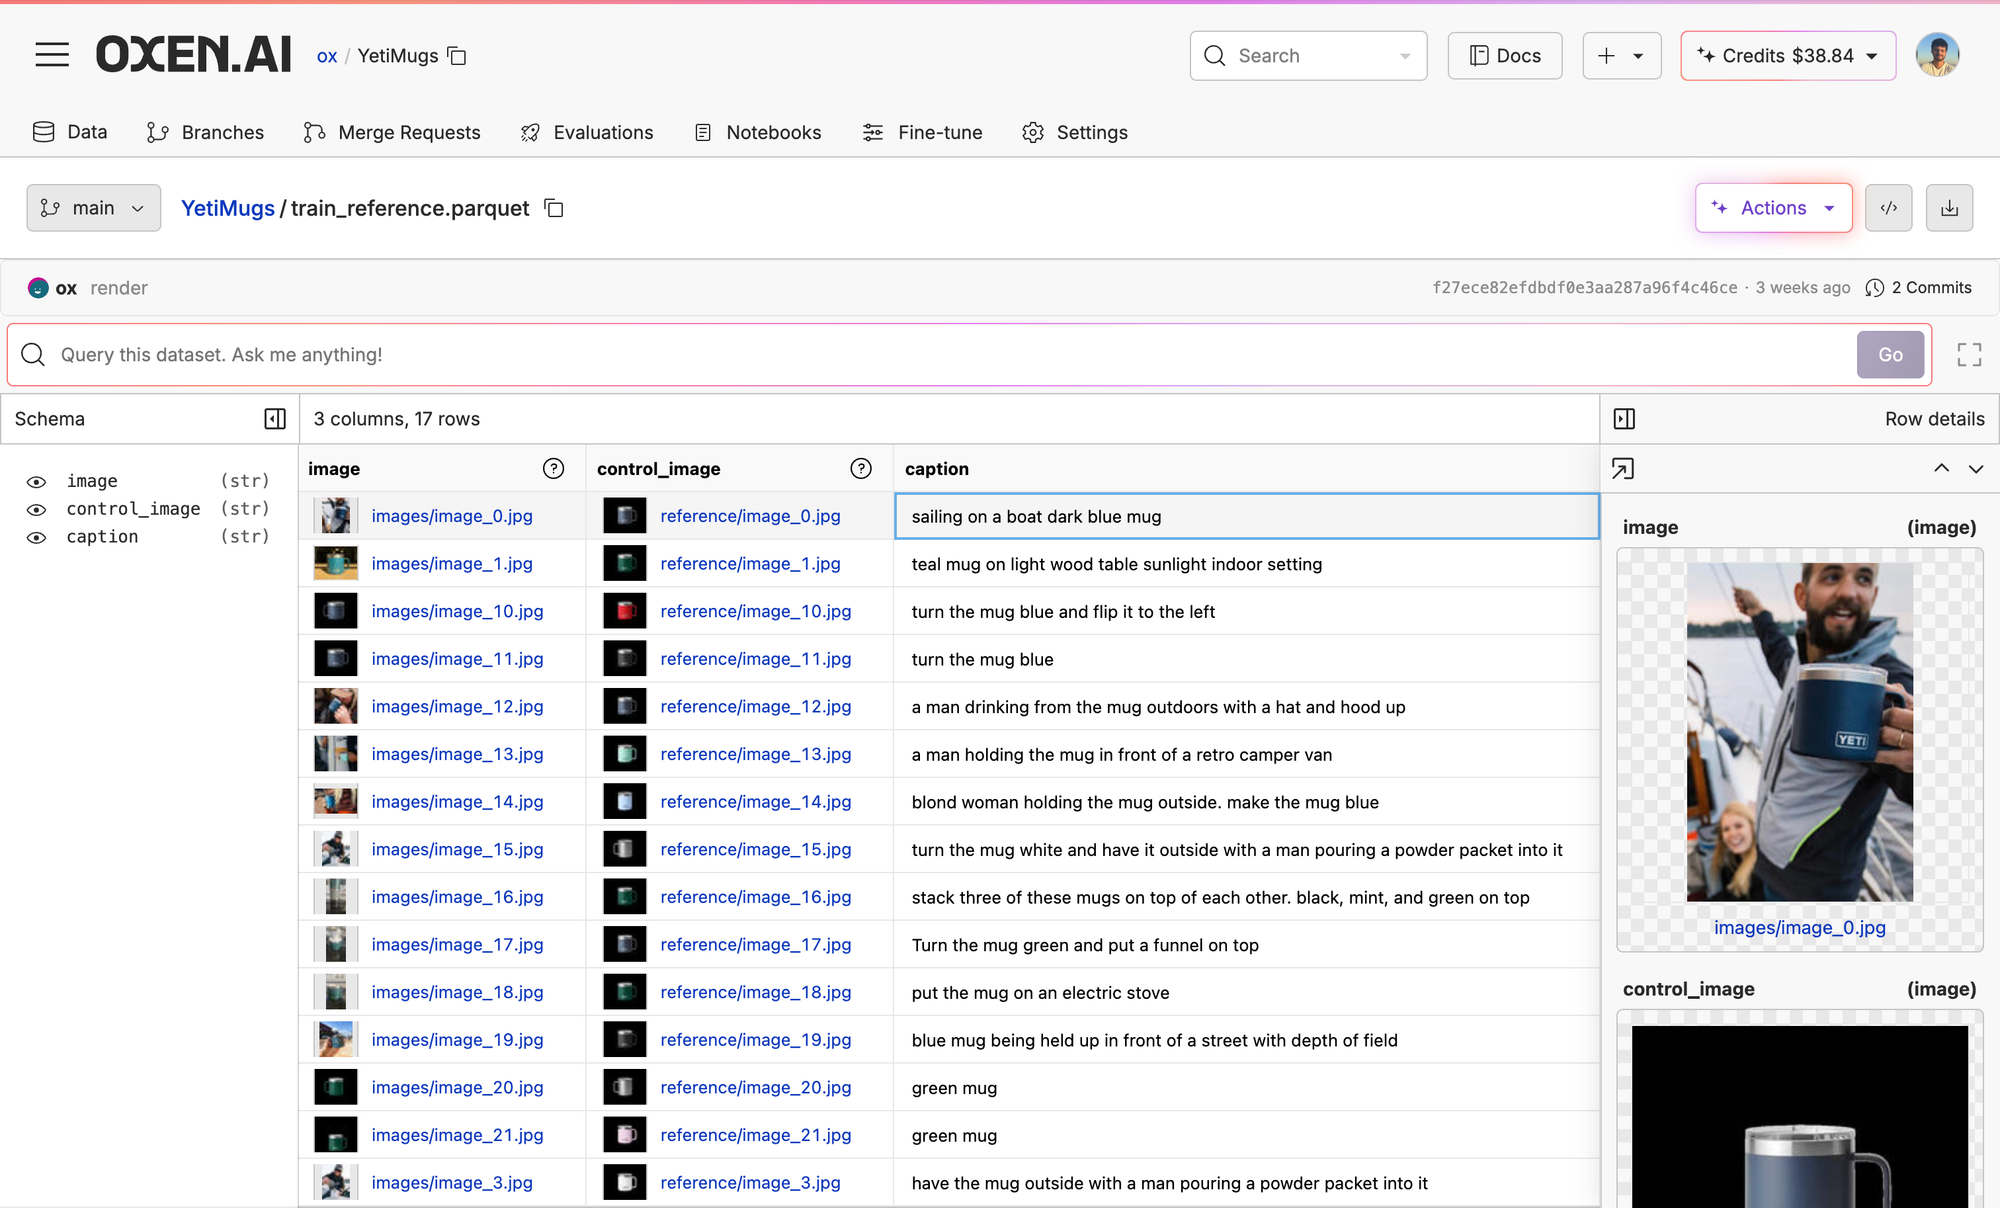
First, we pulled 17 images of Yeti mugs in different settings from Yeti's product catalog and then paired them with a close-up image of another mug without a setting. The standalone mug serves as our control image, while the catalog images would be our example generations. We then wrote in captions in the UI and voila...our dataset is ready.
Fine-Tuning Qwen-Image-Edit
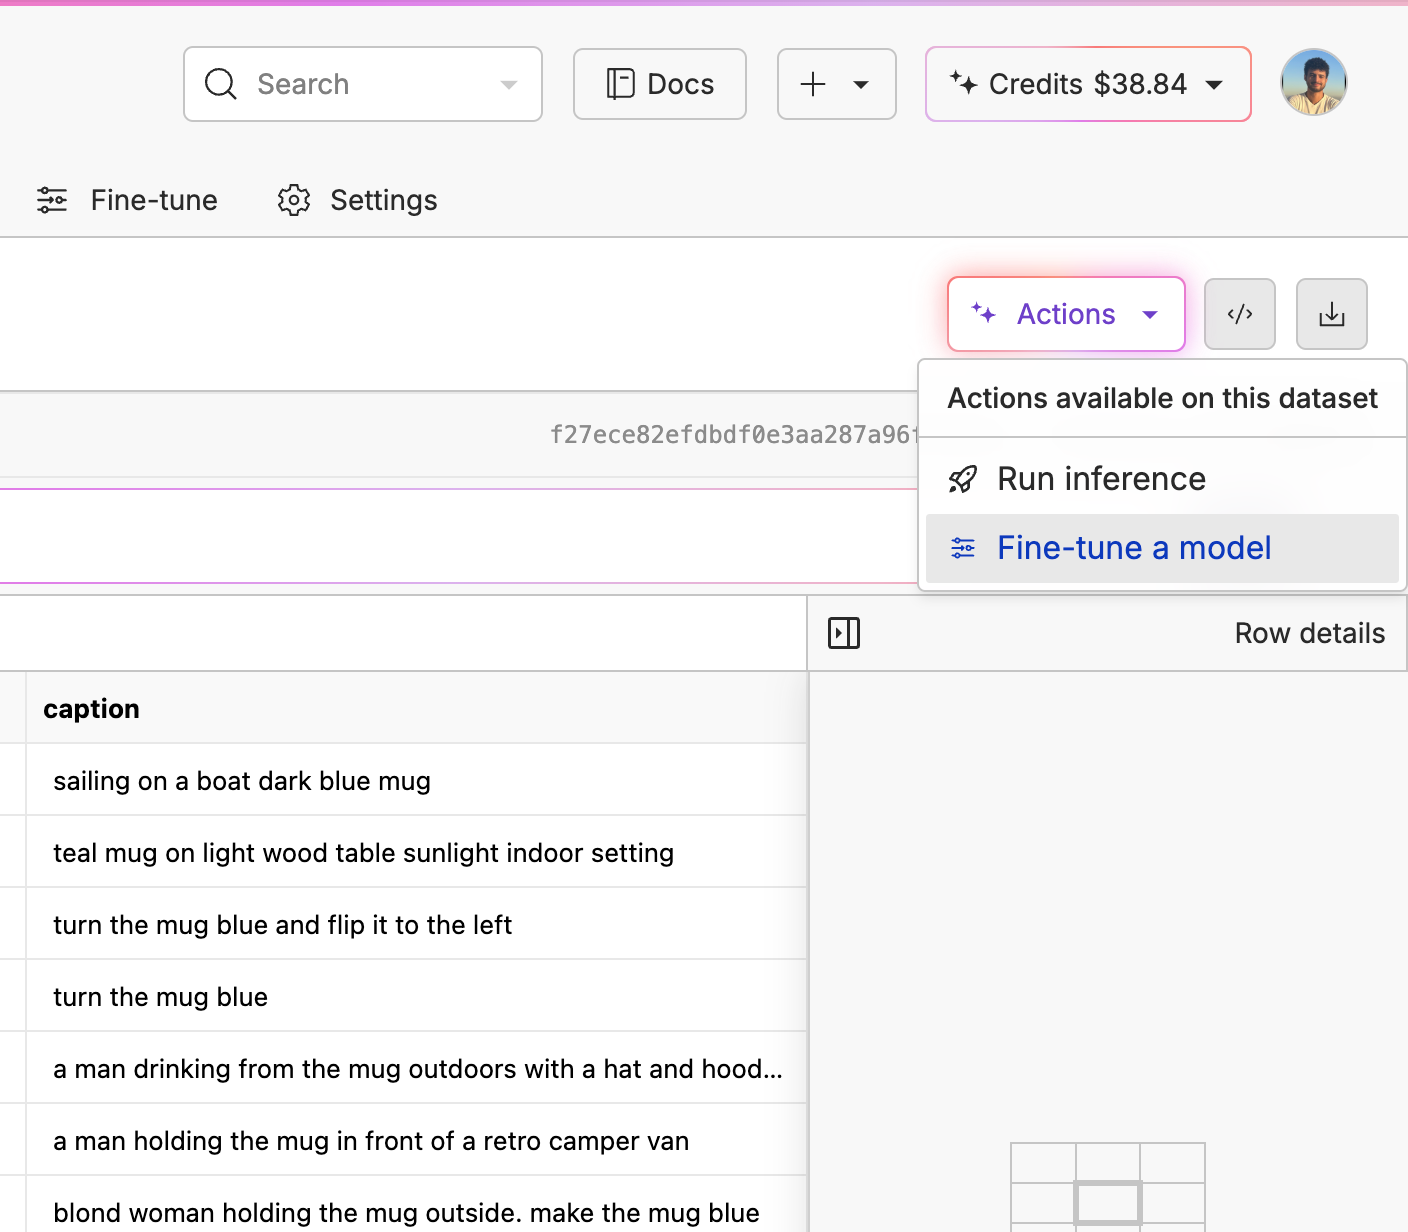
Inside our dataset, we simply clicked the "Actions" button, then "Fine-tune a model".
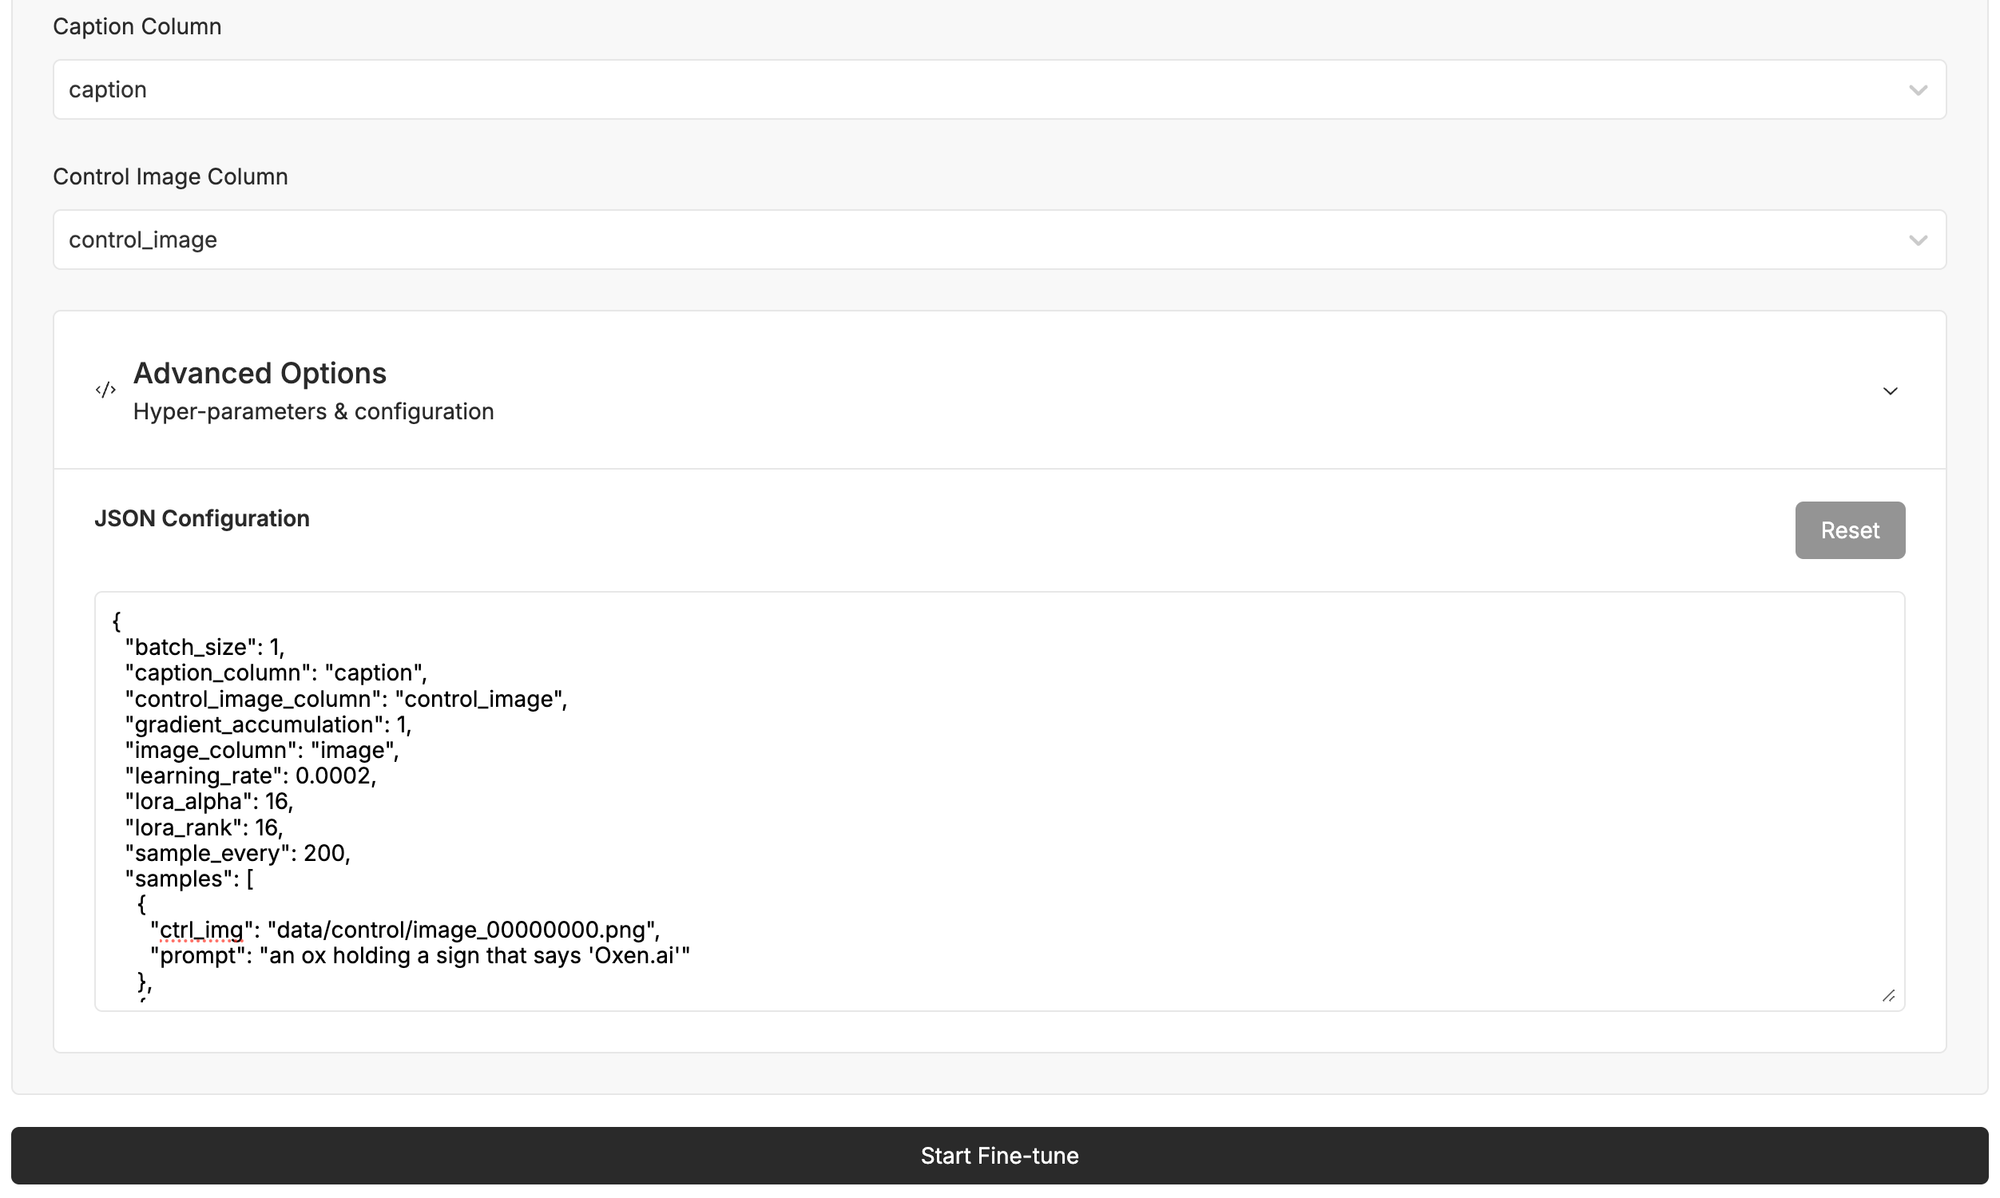
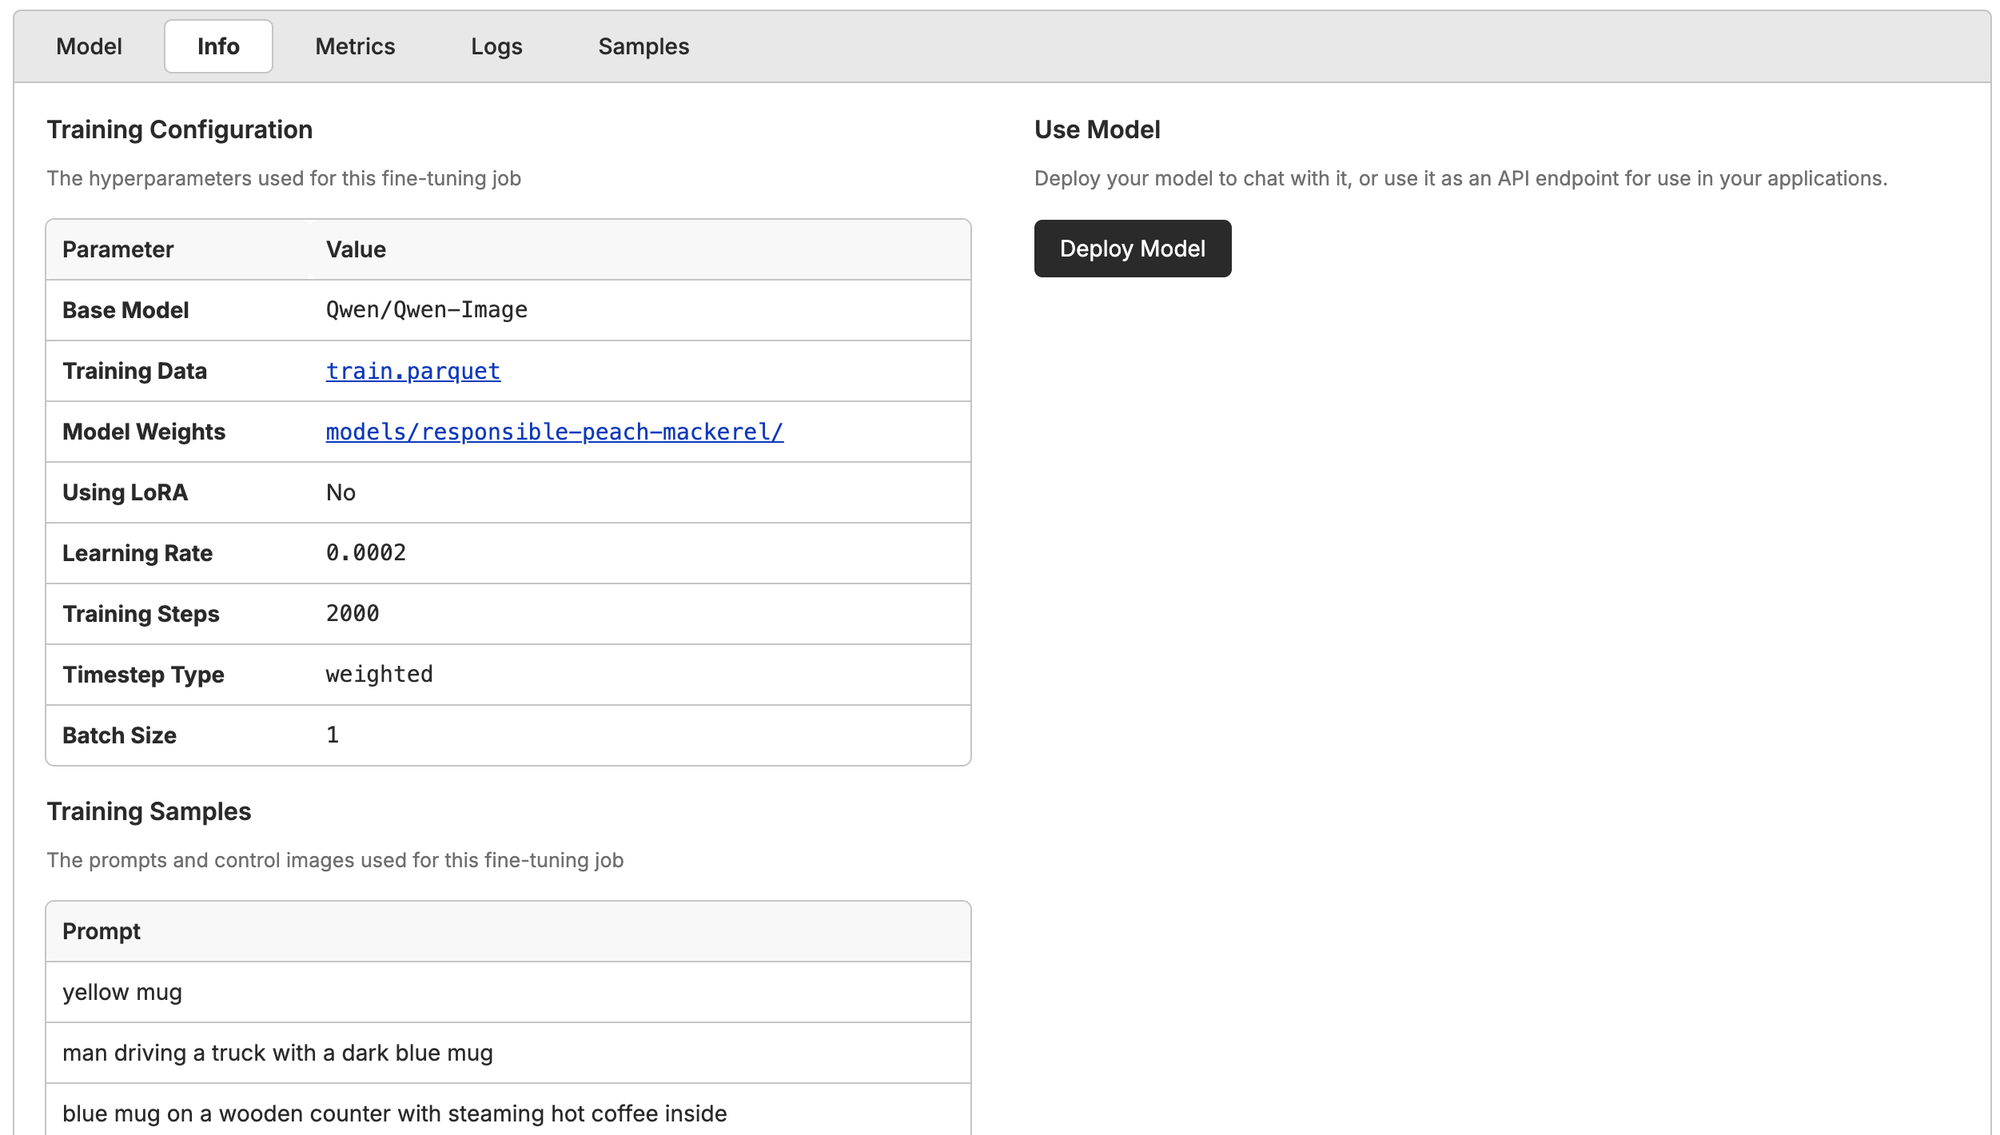
Inside the Fine-Tune portal, you'll be able to choose what type of fine-tuning you want to run (e.g., image to video, image gen, video gen), the base model, and which columns to pass in.
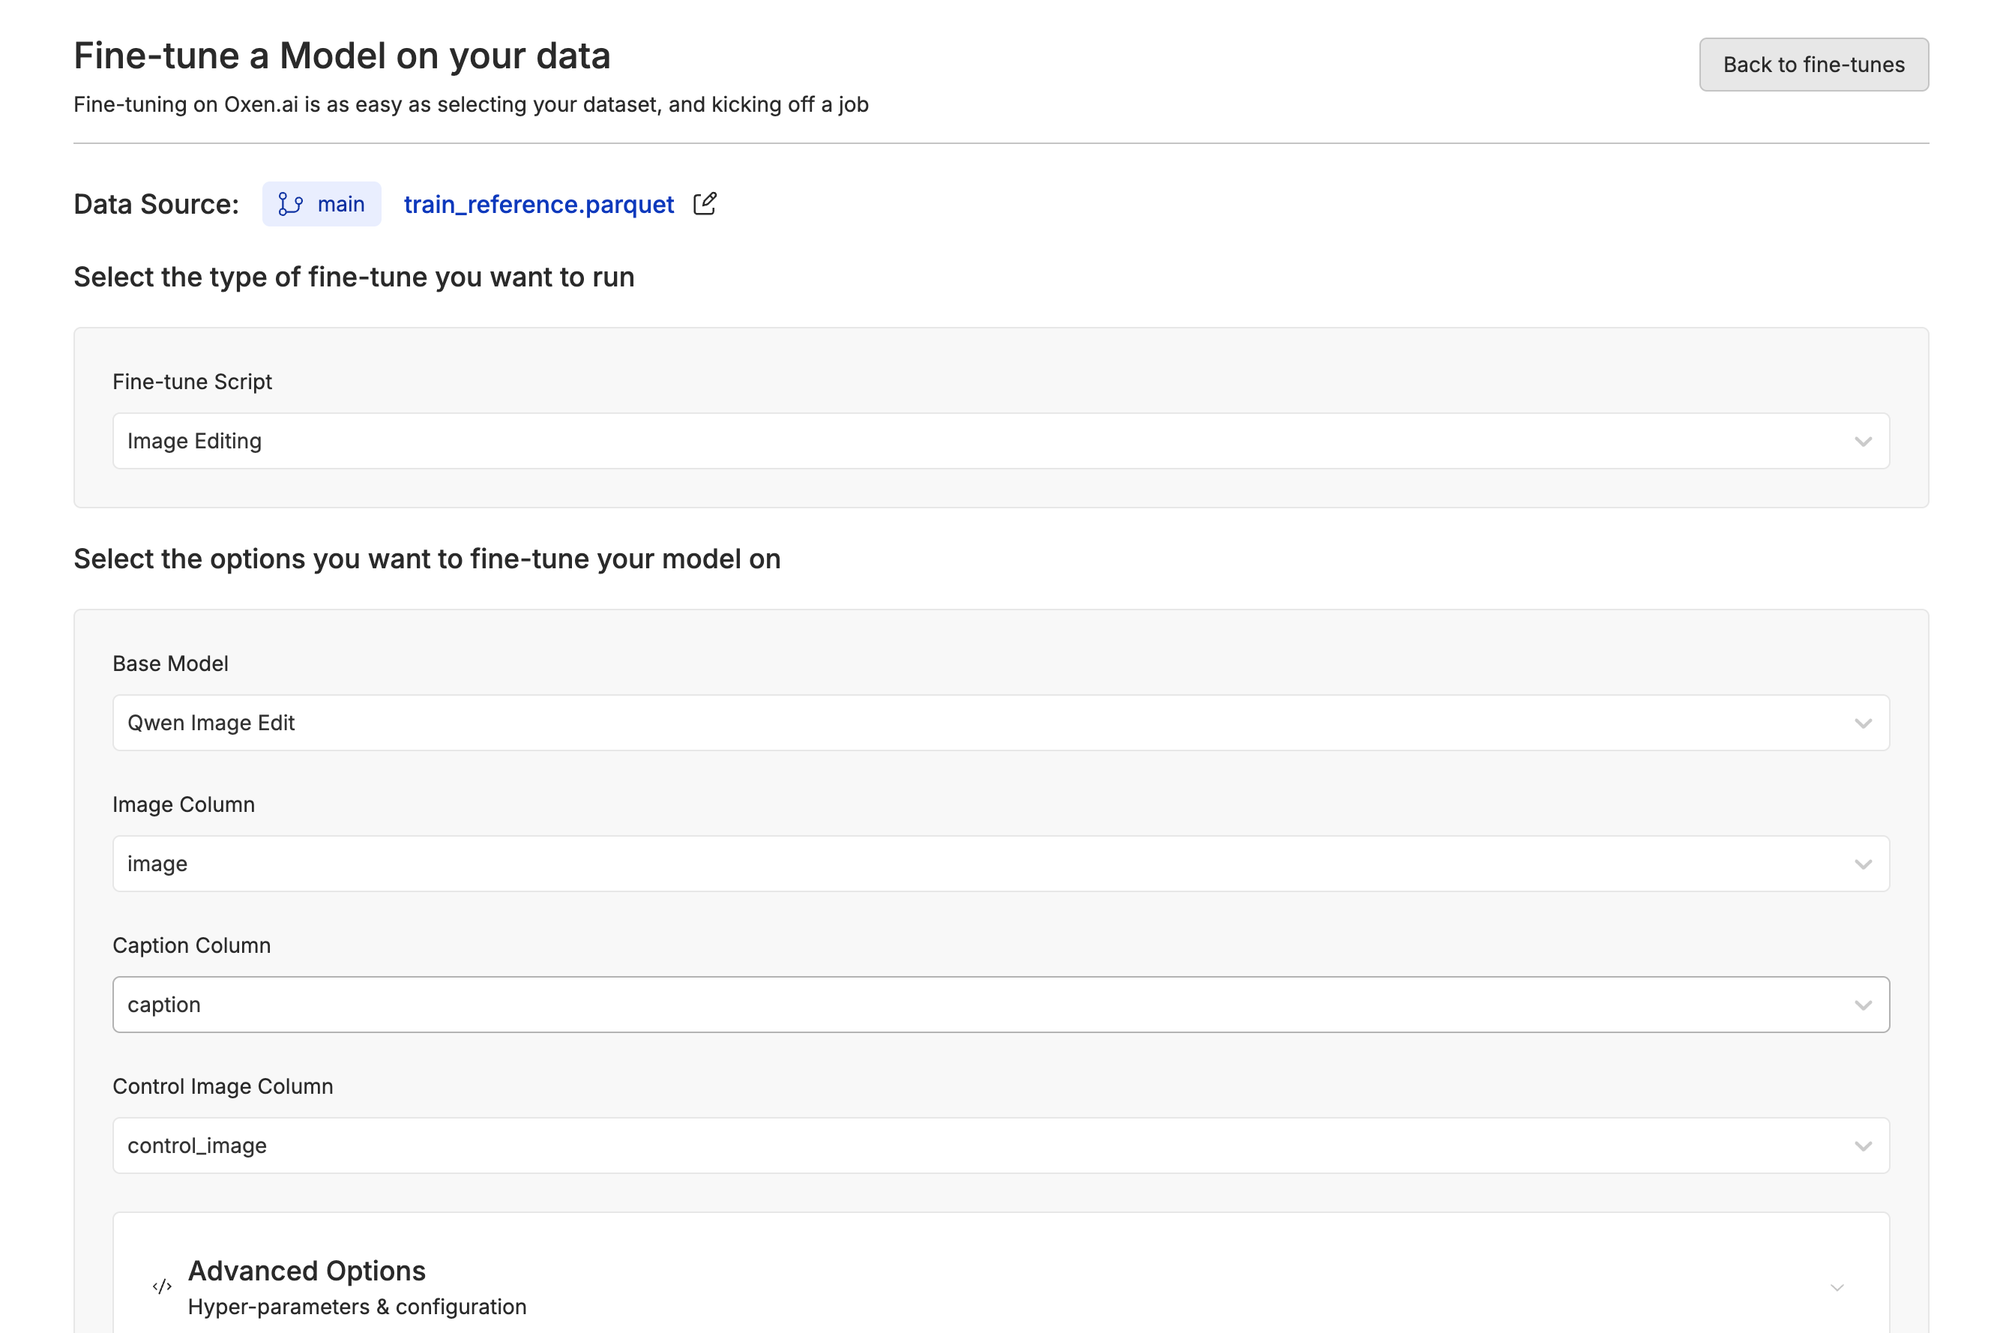
You can then click "Advanced Options" if you want to write in the sample prompt (the prompt the model will generate as an example during training) or to tweak the hyperparameters if you're more technical. Then just click "Start Fine-tune" and you're off to the races.
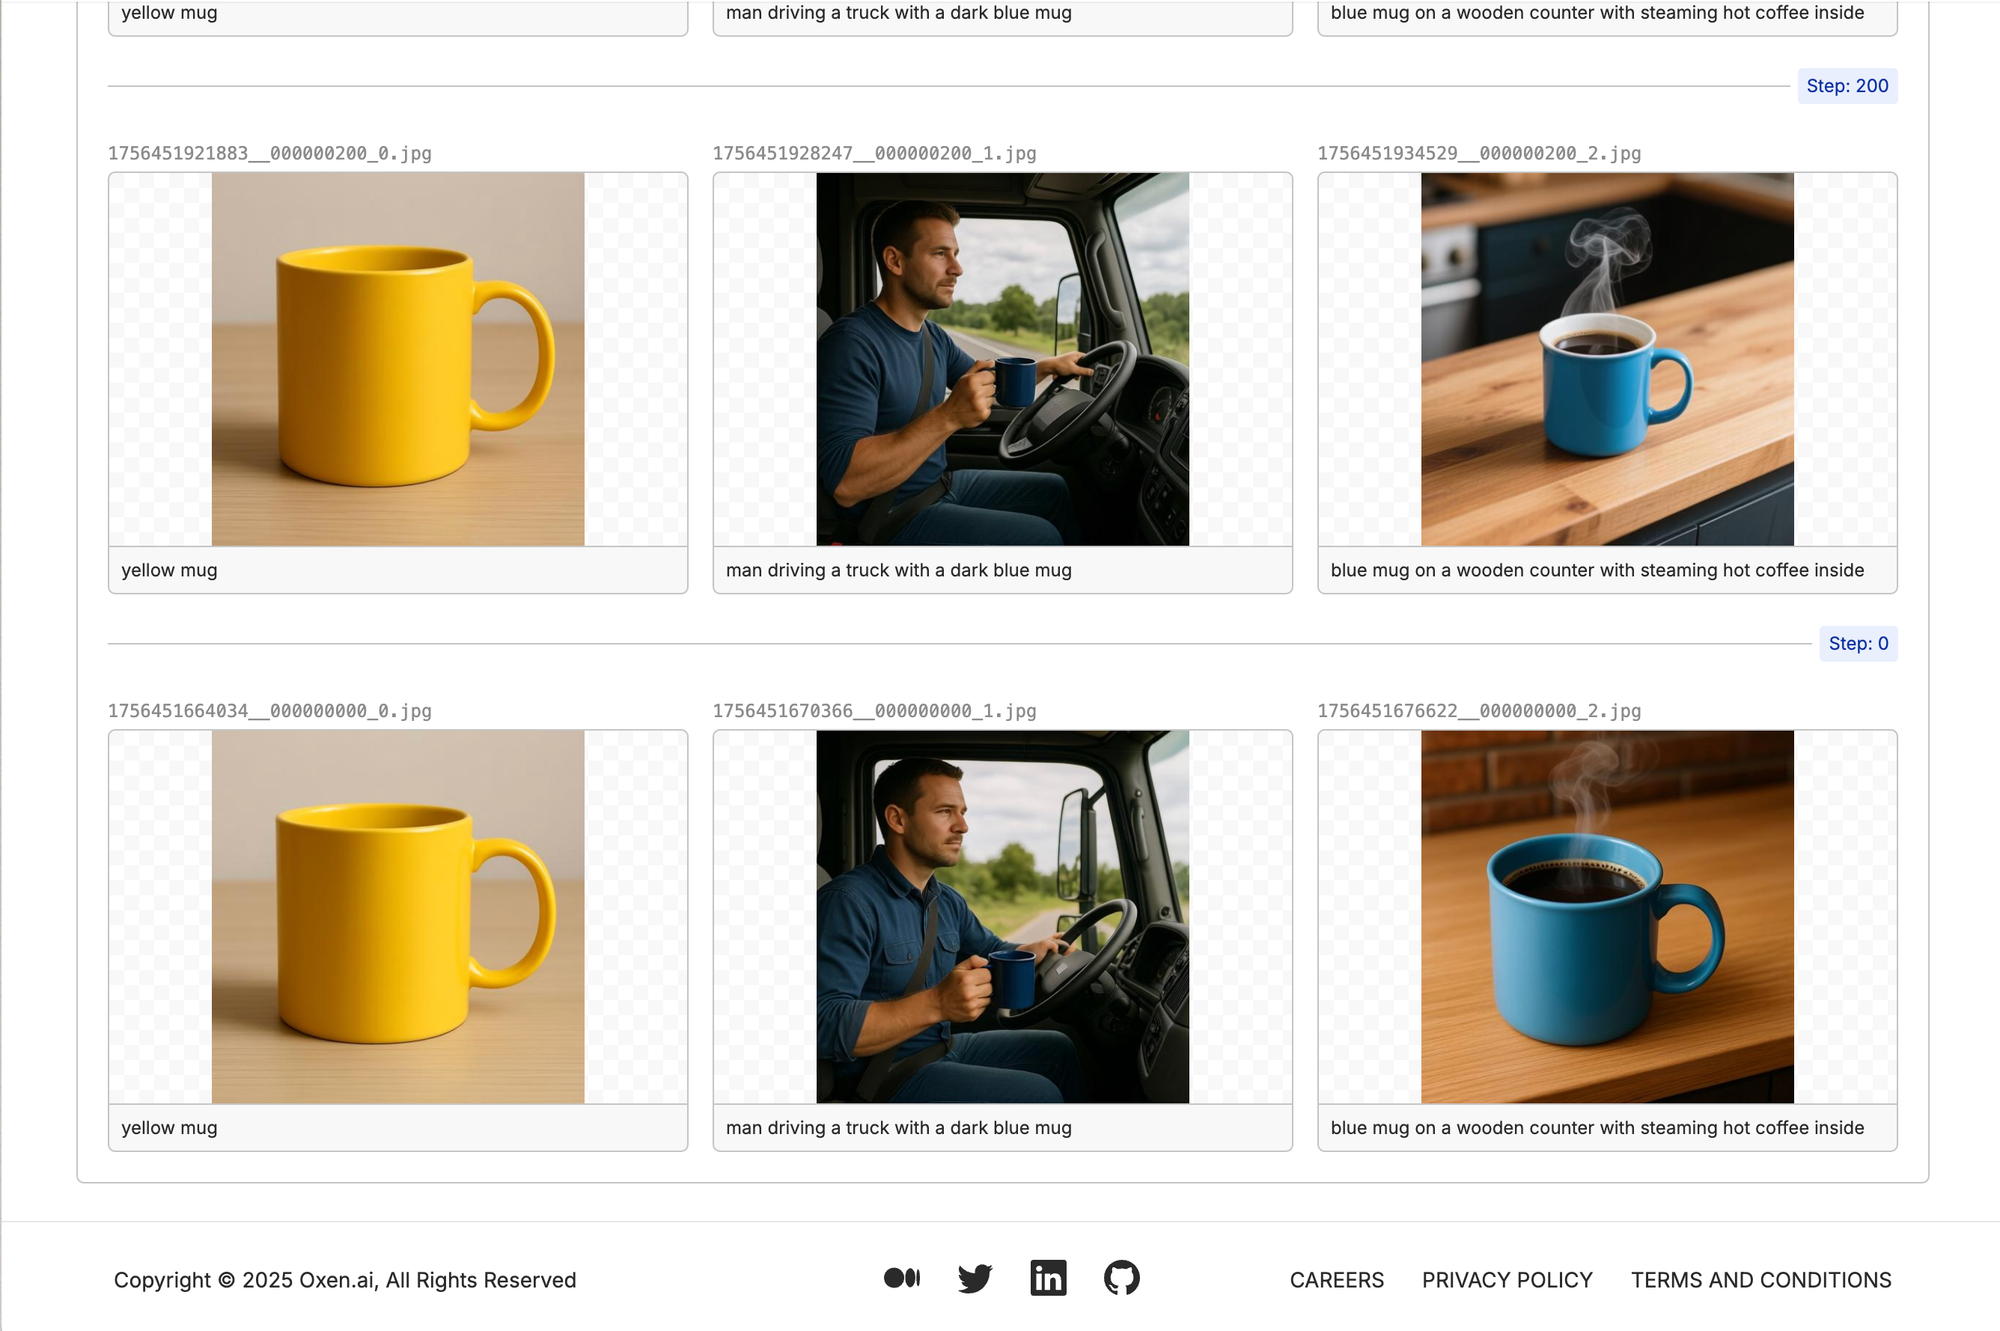
While Qwen-Image-Edit is fine-tuning, we'll get to see how the training run is going with samples every 200 steps, metrics, and logs. Here are the first samples, for example. The quality of both the mugs and the person is horrible. There isn't even a Yeti logo on the mugs, and they just look like generic AI-generated mugs. Let's see how they progress with time.
After the Fine-Tune Finished
After our run finished, we got the final samples, and theres a huge improvement in quality from the original tests.
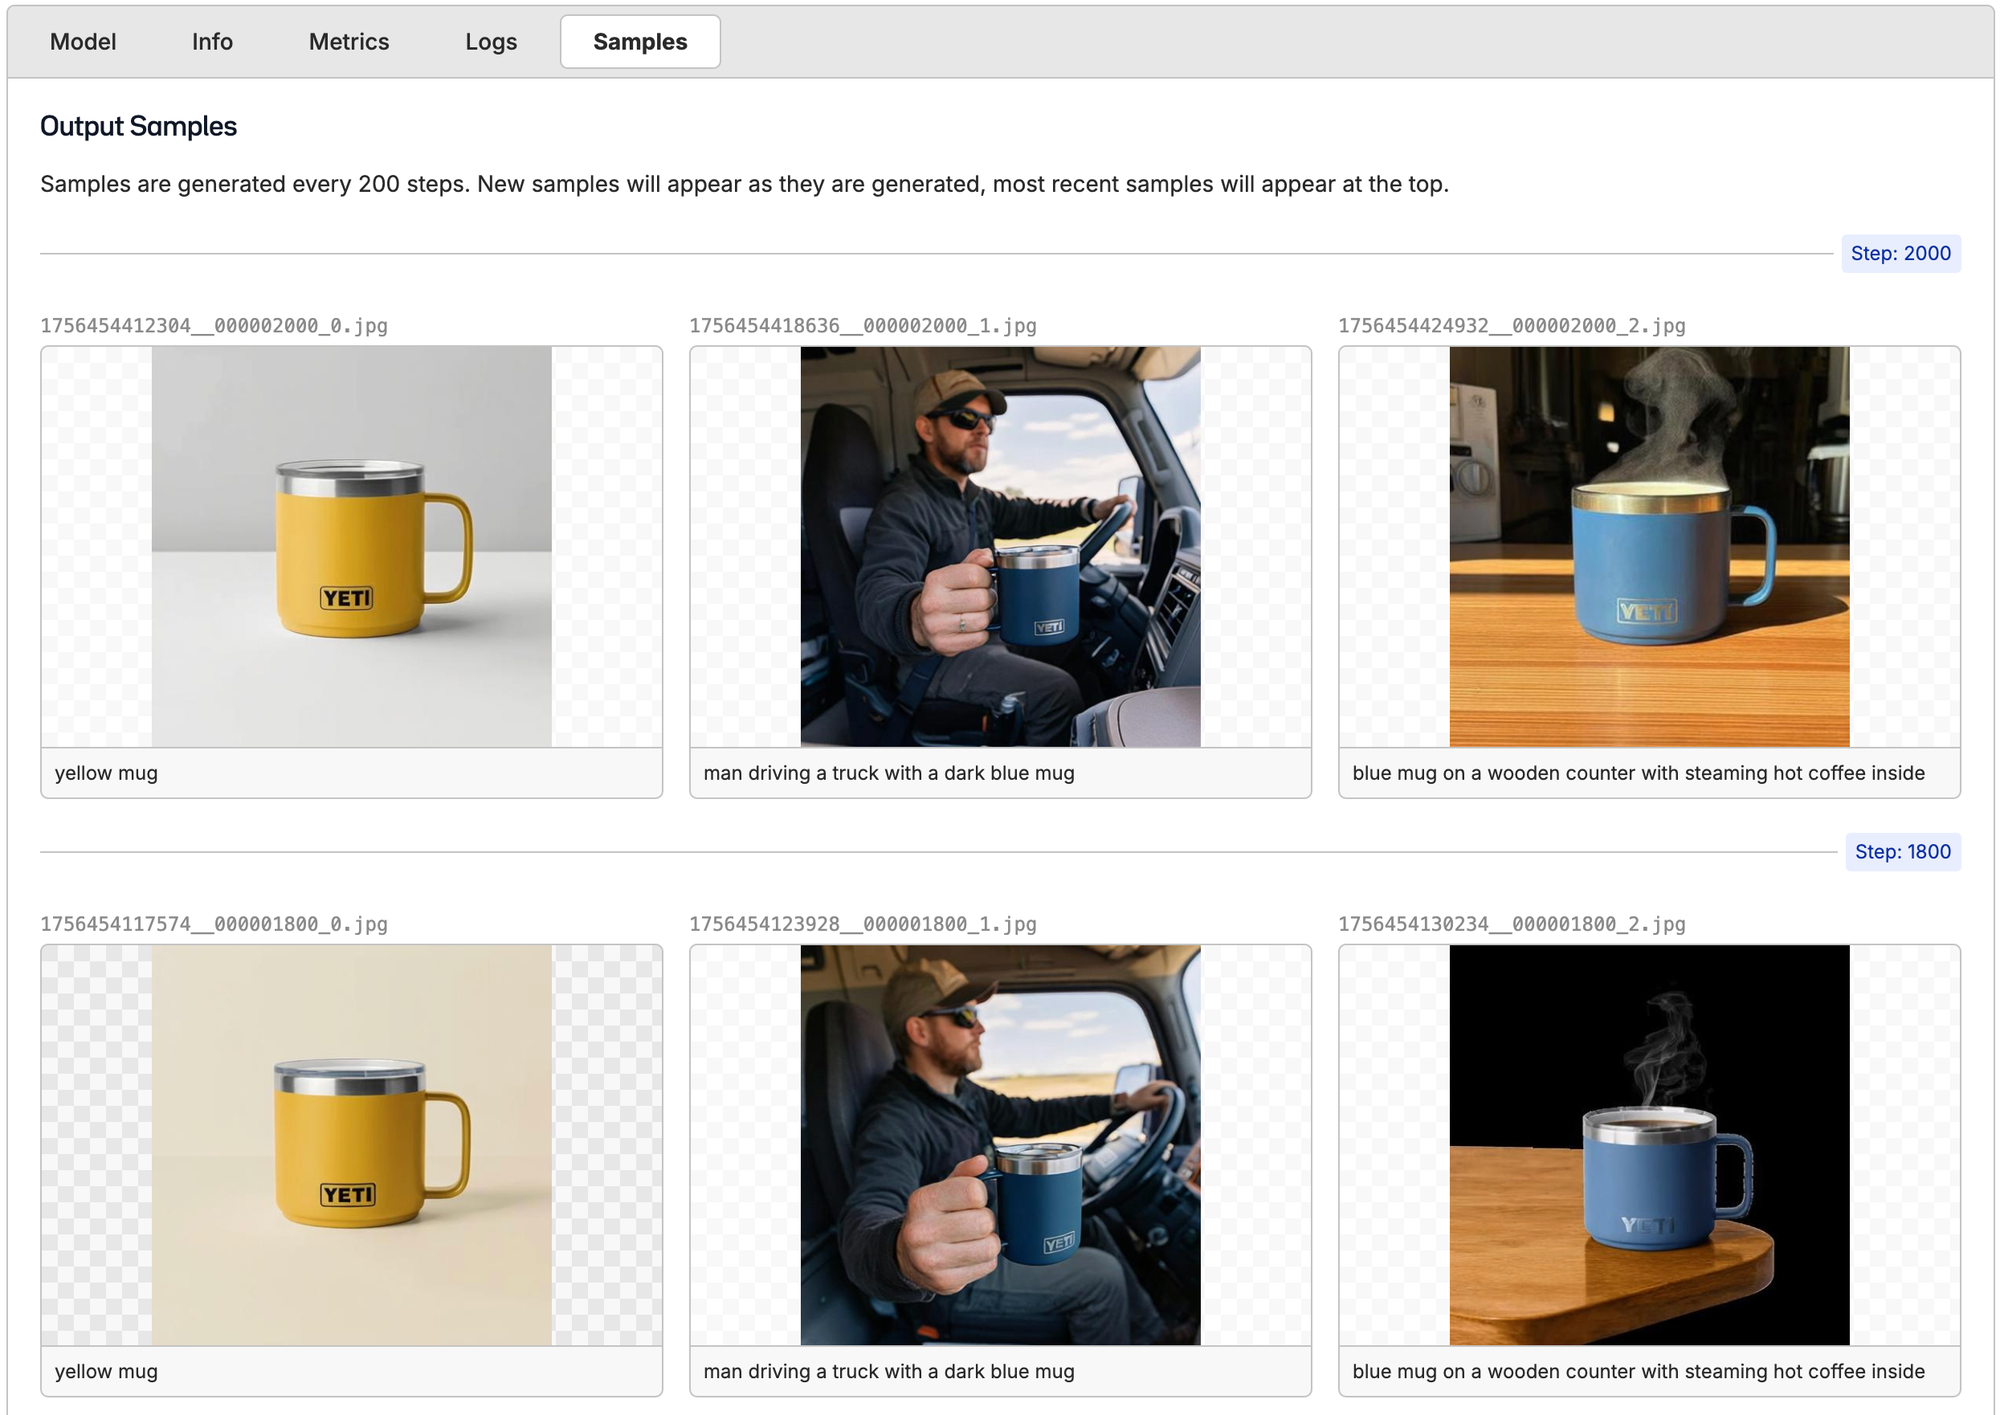
Compared to before, the truck driver looks super realistic and the mug itself has the perfect texture, color, chrome gleam, and the logo looks perfect. This is a big difference from not only the plastic-y feel from earlier, but the generations did an amazing job with highlighting the mug in the center of the photo.
In another run, we got super impressive results with a more realistic-looking redheaded model and another perfect mug. Here is a before and after of an early iteration vs later on.
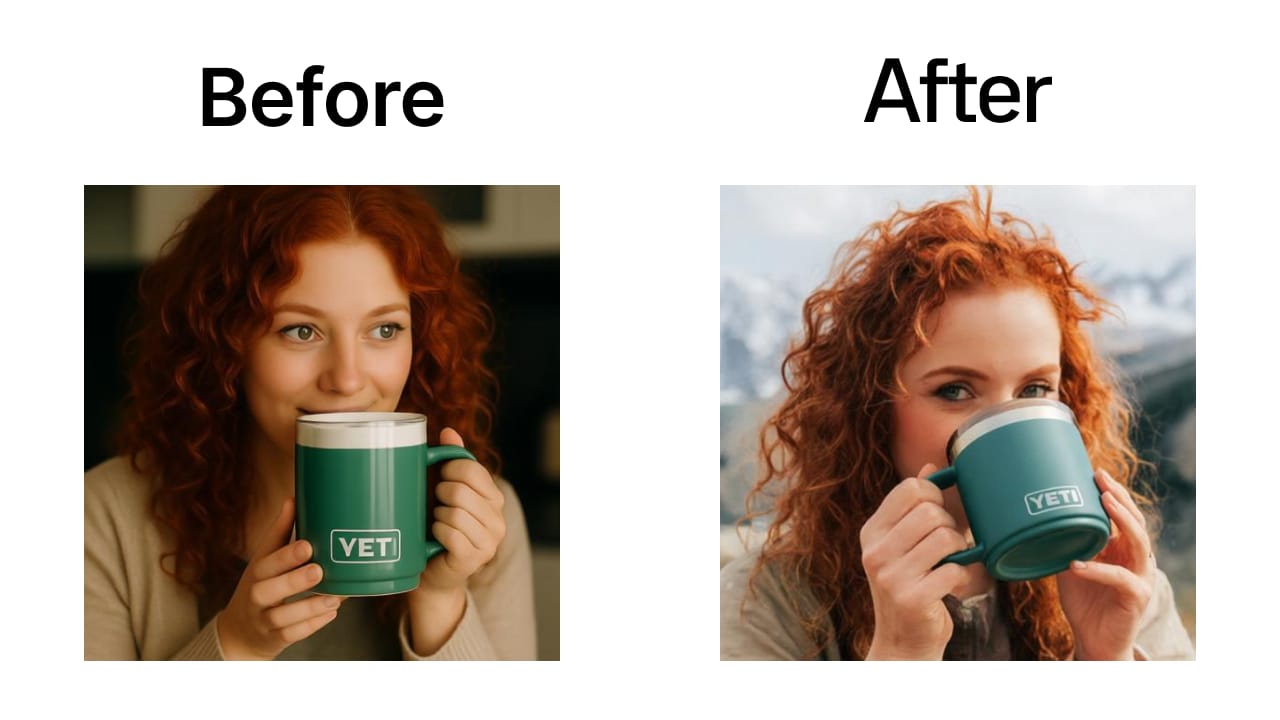
Compare this to the earlier iteration, where we simply prompted both FLUX-Kontext-Dev and Nano-Banana:

Super impressive how quickly you can go from AI, plastic-y feel to very realistic models and perfect yeti mugs.
Nano-Banana continues to blow me away with it's level of quality...that being said if you want consistency and increased control over image-tone, settings, control over your data, training a cheaper model, or to own your model weights, fine-tuning is still the way to go. We saw earlier how irregular the Nano-Banana generations were.
Next Steps
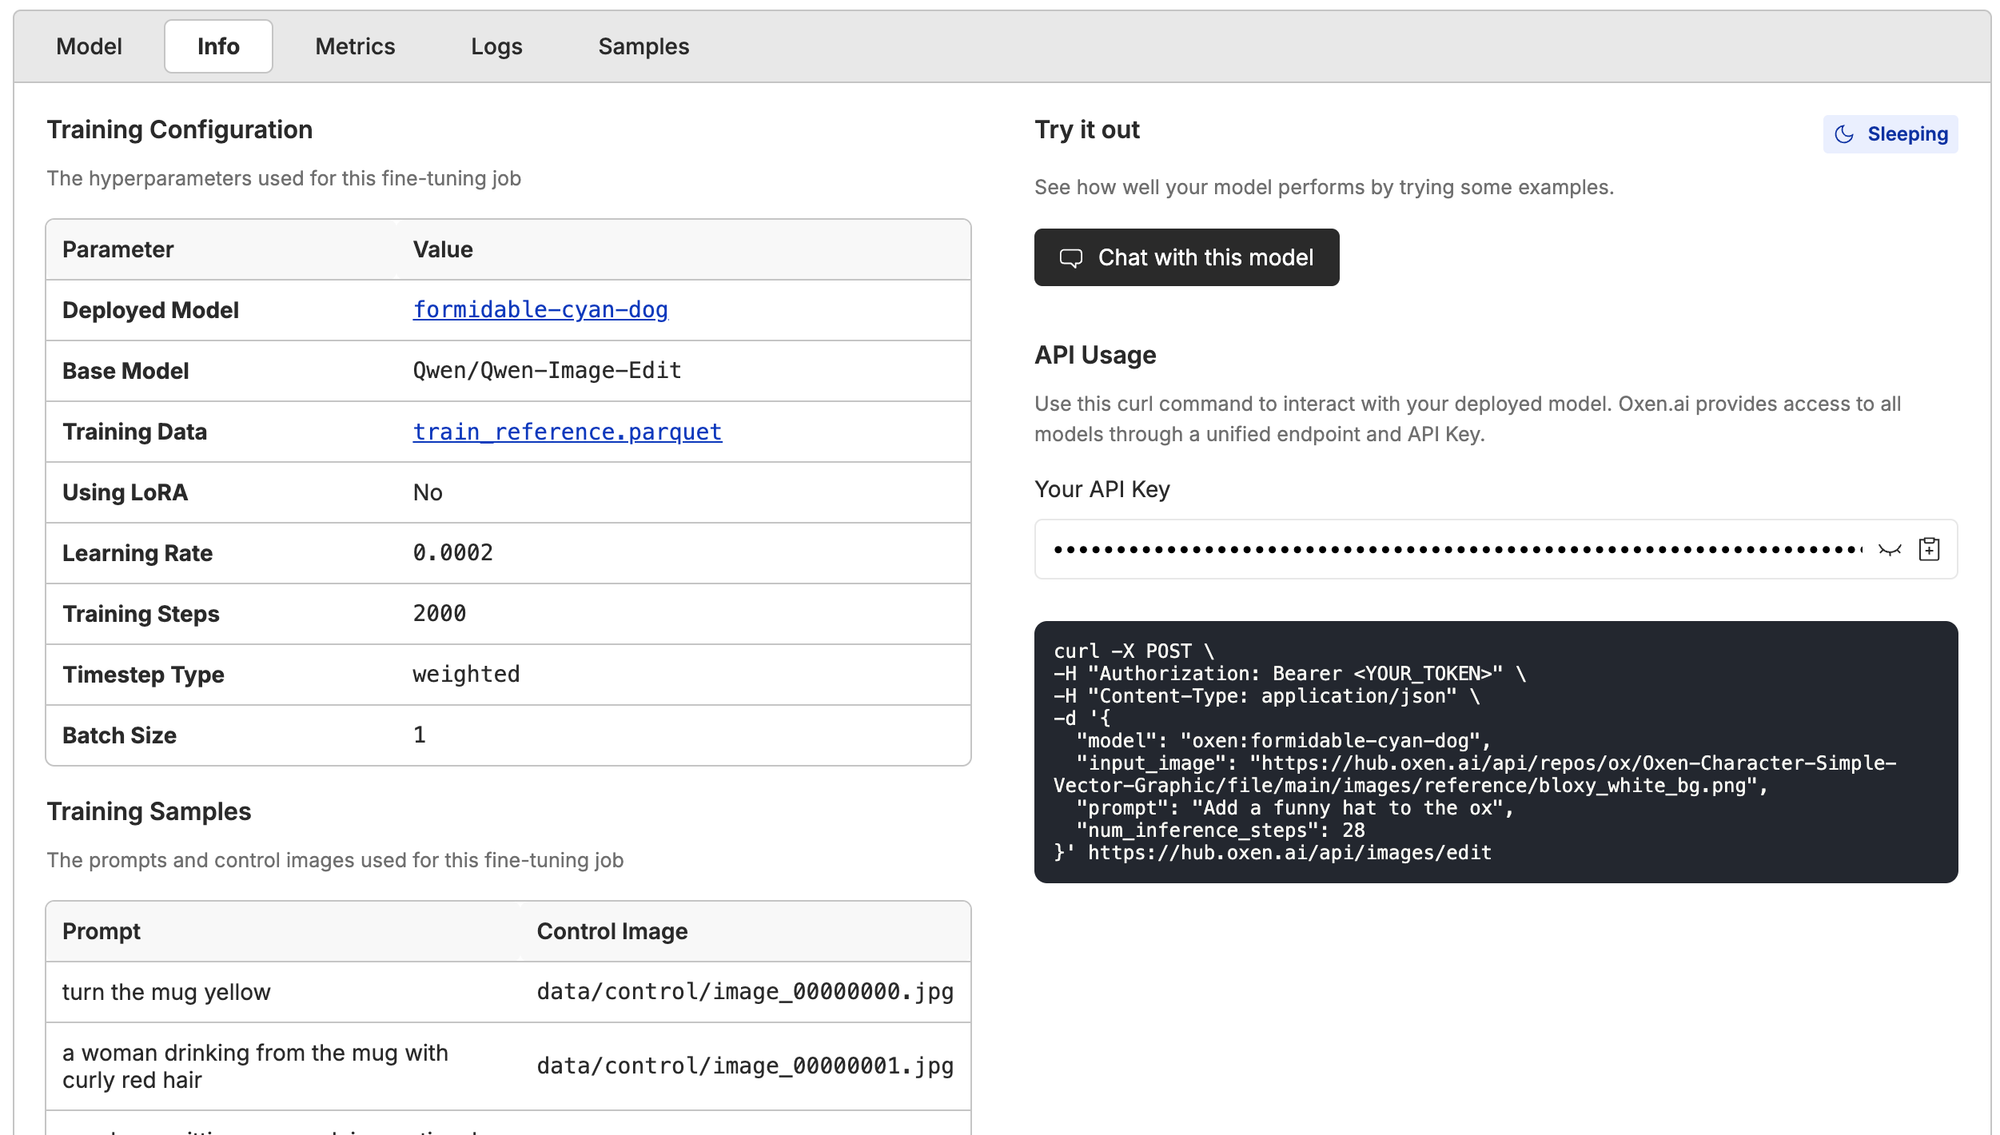
After you have your fine-tuned model on Oxen.ai there are a couple of things you can do...One, you can download your model weights to run them locally or make a custom LoRA node in your ComfyUI workflow. Two, you can deploy your model on Oxen.ai and use the unified API to access your model.
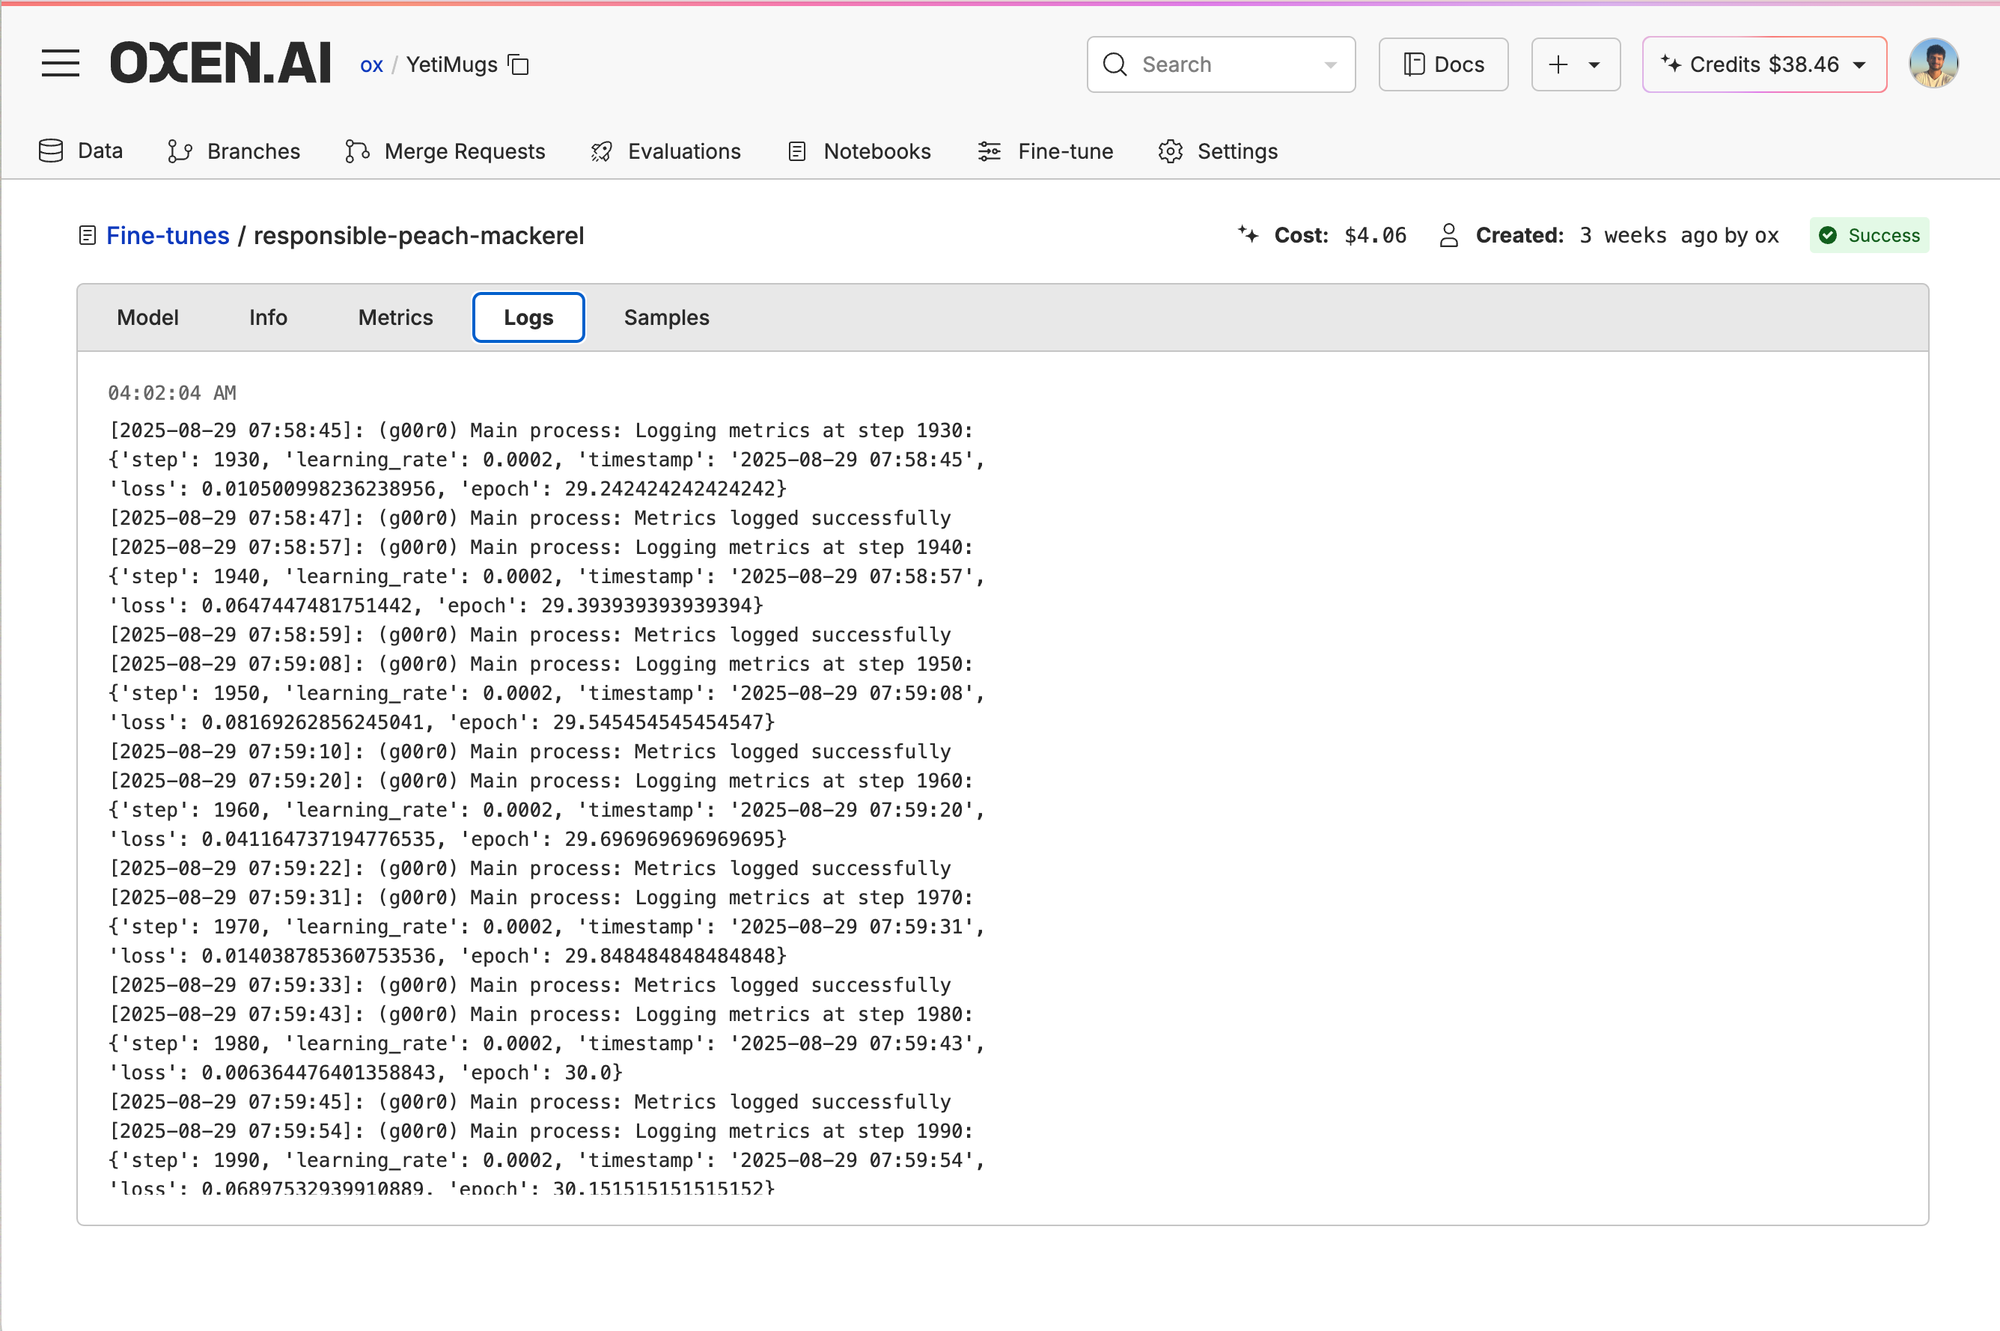
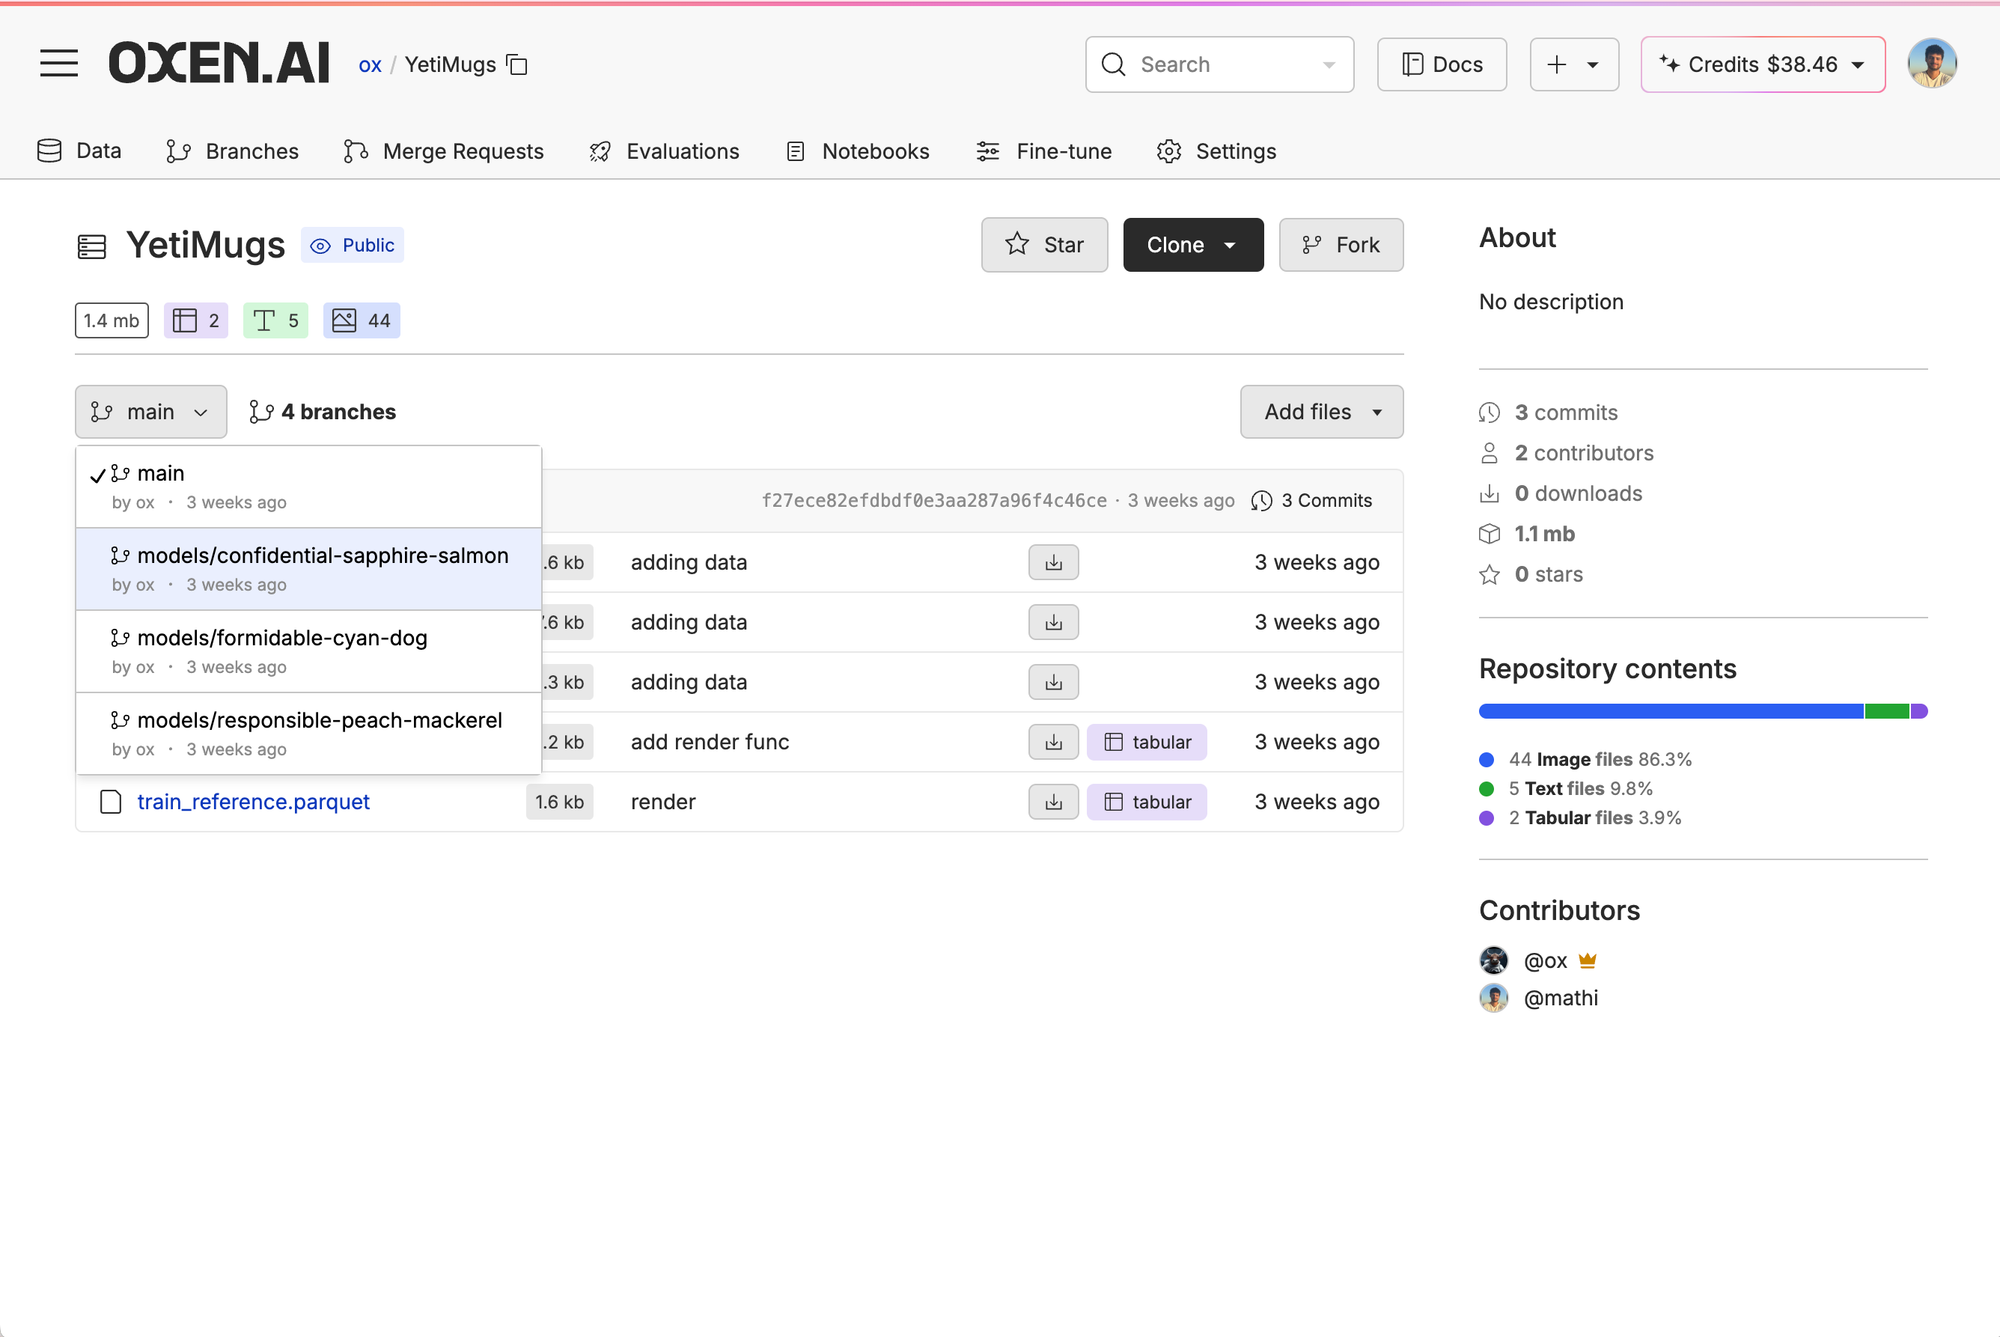
Every time you finish a fine-tune, we automatically store the model weights with a snapshot of the data you used to train it in a new repo branch. That way, you can easily track which experiment trained which model or download and own your weights. All you have to do is go back to your repo, click branches, and choose the branch with the fine-tuned model name generated automatically.
If you want to simply run your model on Oxen.ai, just click deploy in the model info page after the fine-tune ends, and you'll get a model API to ping.
Conclusion
Fine-tuning is the perfect way to get personalized models that you want. Often times, prompting a model can give you a great idea if the model is good enough to try training, but if you want to get to production-ready, cinematic-level outputs, fine-tuning is the way to go. Make sure to check out the Yeti Mugs repo if you want to poke around the model or check out our playgrounds if you want to find a new model to test!
Member discussion